Canning Apple Pie Filling
May contain affiliate links. Disclosure policy.
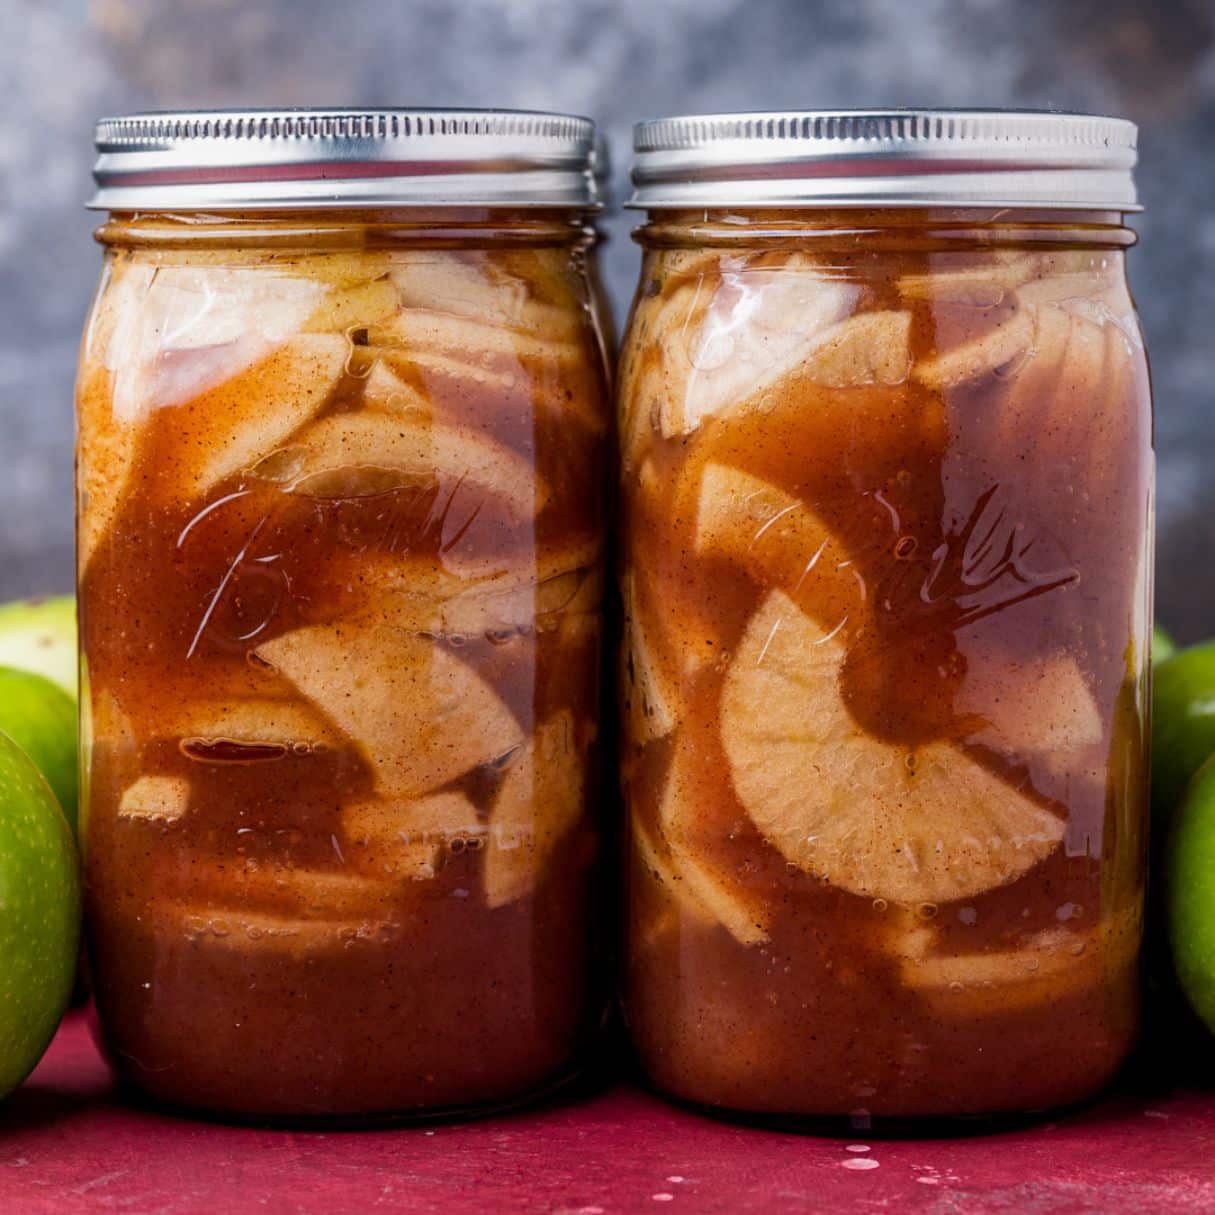
Learn about canning apple pie filling in a pressure canner or water bath. An easy homemade apple pie filling with amazing cinnamon flavor.
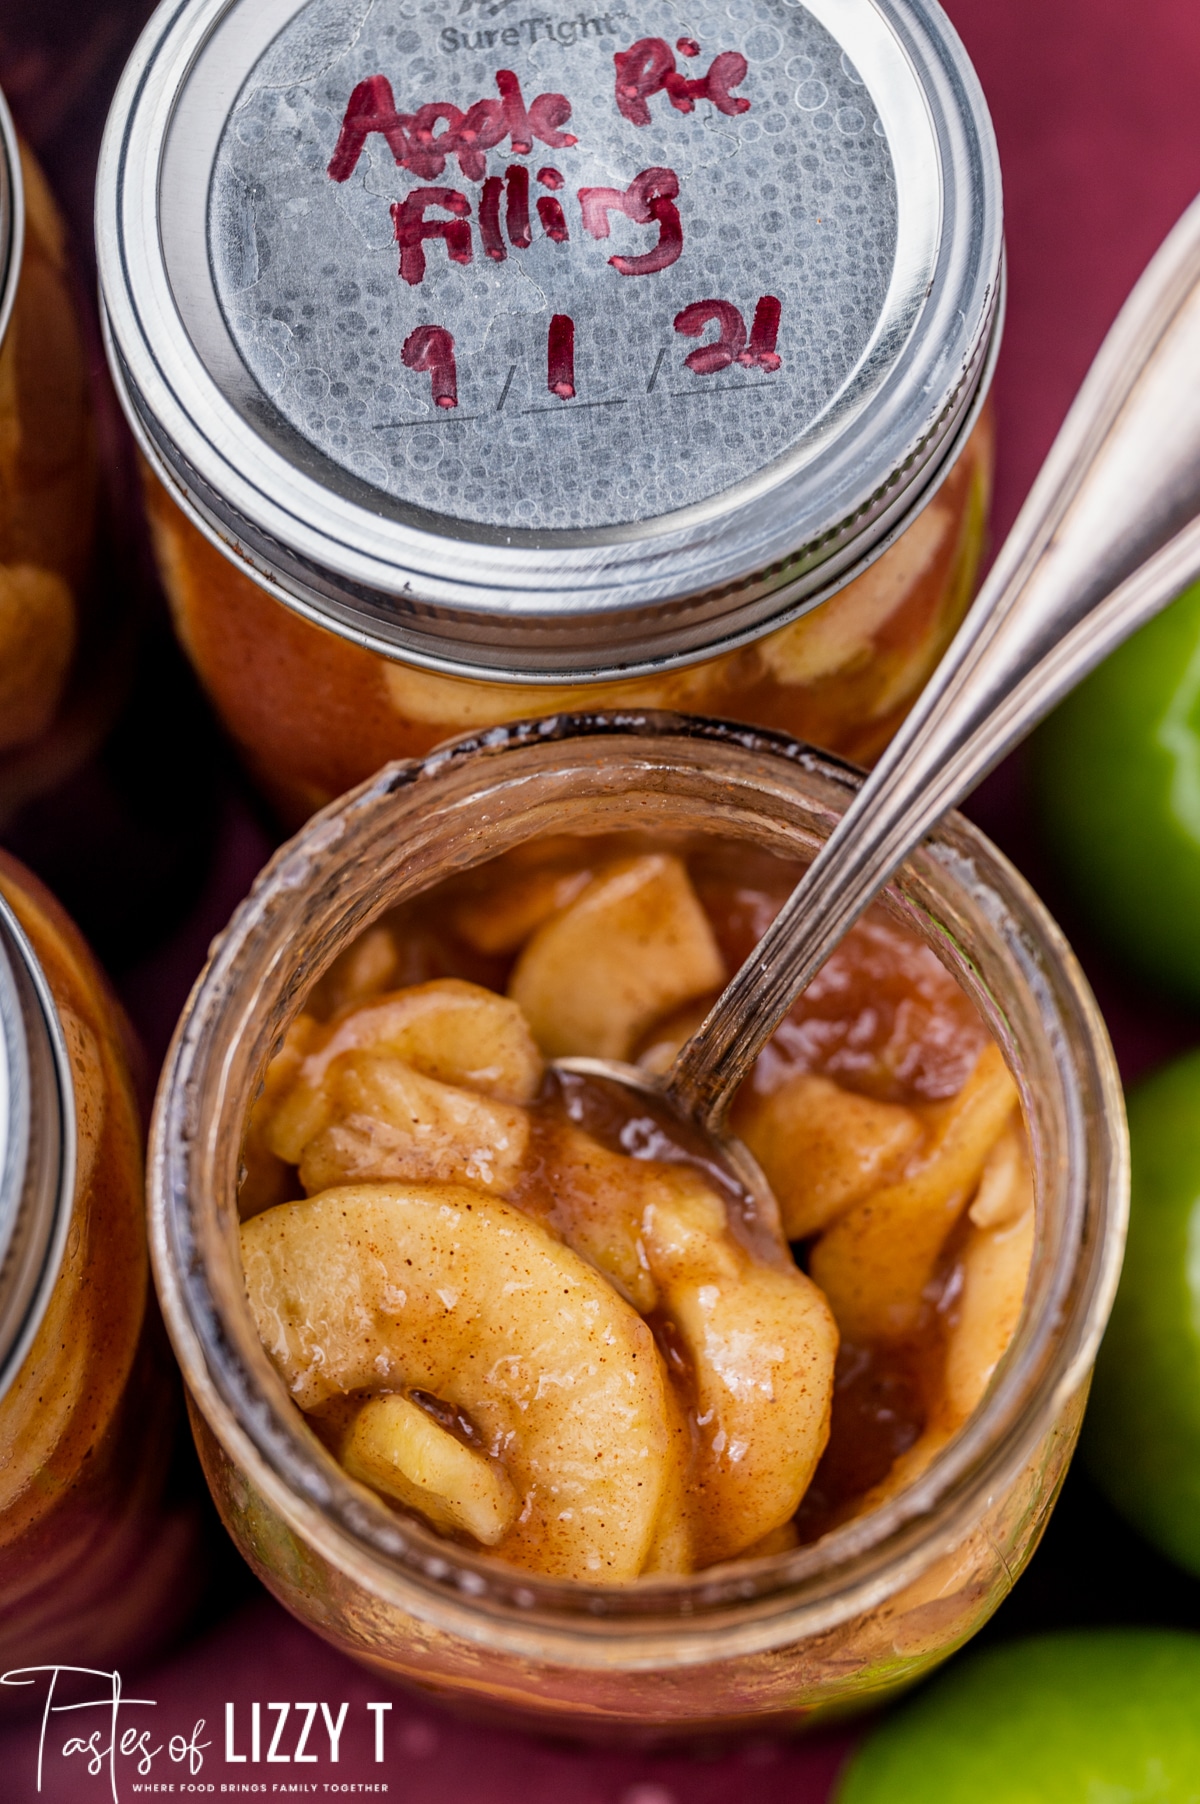
My mom and dad had a few apple trees in their backyard when I was young. There weren’t many trees, but a good crop meant there was enough for us to make apple sauce to last throughout the year and fill our freezers with homemade apple pies and apple butter.
These days, my freezers are usually full of various recipe testing I’ve been doing for TOLT, so canning apple pie filling so that I can store it on a pantry shelf makes more sense for me. I came across a recipe for canned apple pie filling in an old church cookbook and tweaked it slightly to add elements of my favorite homemade apple pie.
Let’s make apple pie filling from scratch. It’s easier than you think.
Why you’ll love this canned apple pie filling:
- Make as much as you’d like. This recipe is easy to double or cut in half based on how many apples you have.
- Uses clear-jel which is safe for canning.
- Instructions for freezing, pressure canning and hot water bath canning.
- Use our amount for spices, or tweak it to your favorite apple pie filling recipe.
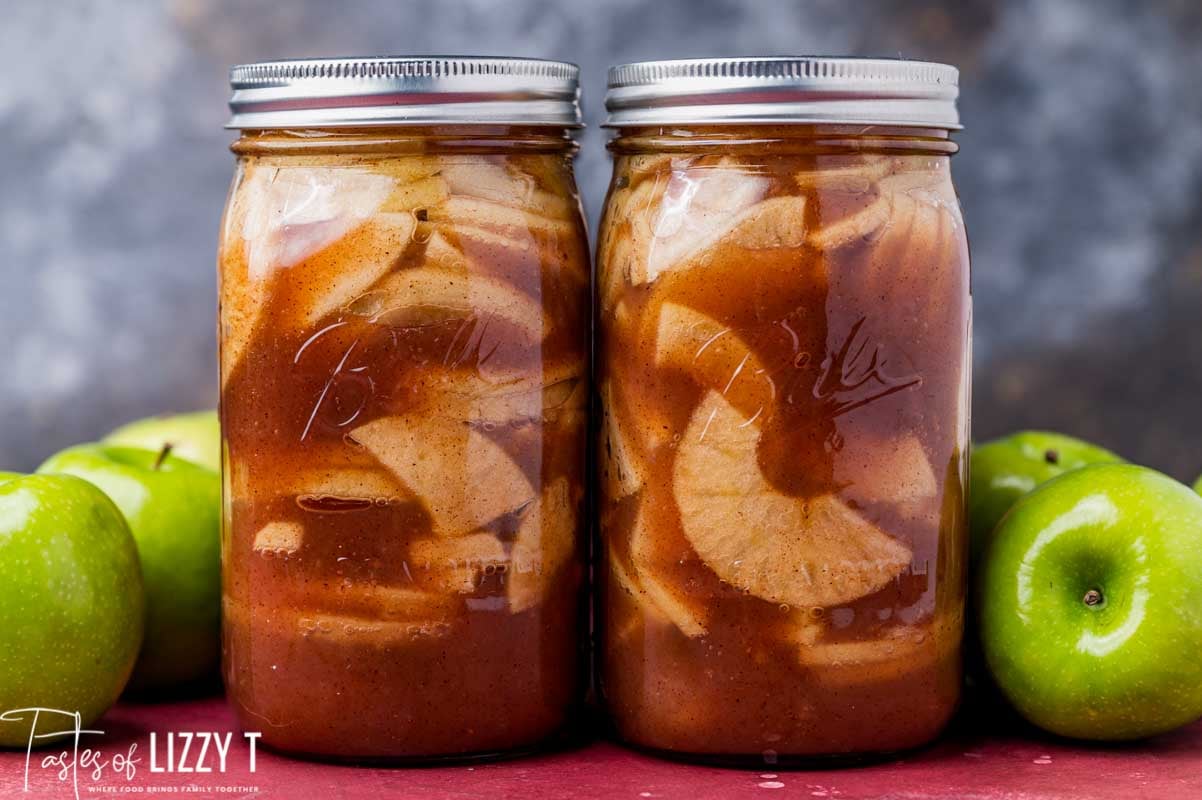
Apple Pie Filling Ingredients
- Apples. Granny Smith apples are perfect for canning apple pie filling because they are firm apples that hold their shape and keep their texture. They won’t get too mushy during the canning process. McIntosh or Braeburn is also a great option.
- Apple juice. I’ve made this recipe with both apple juice and water. You can even use half apple juice and half water. There is just a slight pop of apple flavor when you use juice. It also adds a little more sweetness.
- Sugar. I tend to use granulated sugar, but you can use brown sugar if you’d like. Use the same amount, whichever you choose. Brown sugar will make your apple pie filling a darker color.
- Clear jel. Clear jel is a thickener (a chemically modified corn starch) that is recommended by experts for thickening pie fillings and sealing in a boiling water canner. It is sometimes hard to find locally unless you have a small bulk food store, but you can buy it on Amazon. More about this below.
- Cinnamon & nutmeg. These are the two spices I use in my apple pie filling. I go heavier on the cinnamon and light on the nutmeg. Saigon cinnamon has great flavor. Cloves and allspice are also options if you’d like to tweak the flavor.
- Lemon juice. Lemon juice prevents apples from browning, but the acid also cuts the sweetness slightly and adds flavor.
- Salt. Salt, as always, adds flavor and also helps cut the sweet sugar flavor slightly.
Can I use cornstarch instead of clear jel?
The recipe I found in the 50 year old church cookbook called for cornstarch instead of clear jel. Although that may have been used in the past, it is not considered the safe to use now. The cornstarch can break down after canning, compromising the quality. There were also reports that the thick cornstarch can cause the jars to not heat through properly during the canning process.
I would not recommend canning apple pie filling without clear jel.
How to Can Apple Pie Filling
The first step is to make the cinnamon sugar syrup for the filling and prepare the apples. You’ll want to also sterilize the quart jars and rings by running them through the dishwasher or soaking them in hot soapy water.
- In a large pot, add the water, sugar, Clear-jel, cinnamon, lemon juice, salt and nutmeg. Whisk well. Allow the mixture to cook over low heat to start, whisking often.
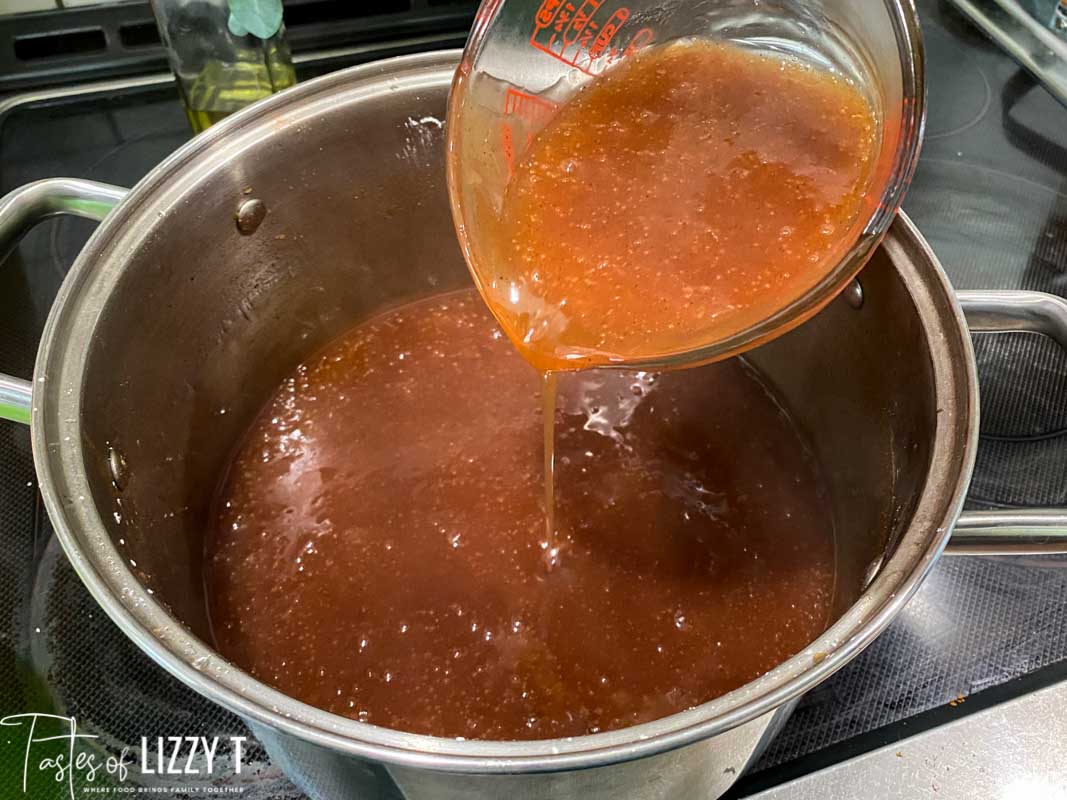
- Once the mixture starts heating and the sugar starts melting, you can raise the temperature slightly to medium low. Continue to whisk every so often so the syrup does not burn. As the mixture cooks, the syrup will thicken. Once it is thick, remove it from the heat. This took a total of about 5-10 minutes, but depends on the type of pot you have and the heat of your stove.
- Prepare the apples by peeling, coring and slicing them (or dicing, depending on what you prefer). By using an apple peeler, this took only about 10 minutes to do 8 pounds of apples.
We find it easiest to mix the sliced/diced apples with the syrup, then fill the jars. You can also pack the jars with apples first and then pour the syrup around. Either way works, but if the apples are packed tightly, it can take some time for the syrup to totally fill up the quart jar.
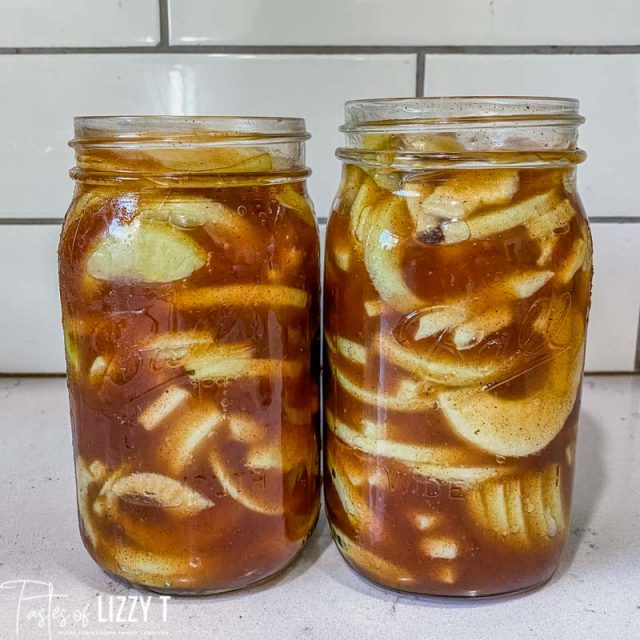
Once the jars are full (leave about 1 inch headspace), you’ll heat the lids and rings in boiling water. Then, after cleaning the rim of the quart jars, place a hot lid on and tighten it down with a ring.
Then you’re ready to seal them.
Pressure Canning Apples
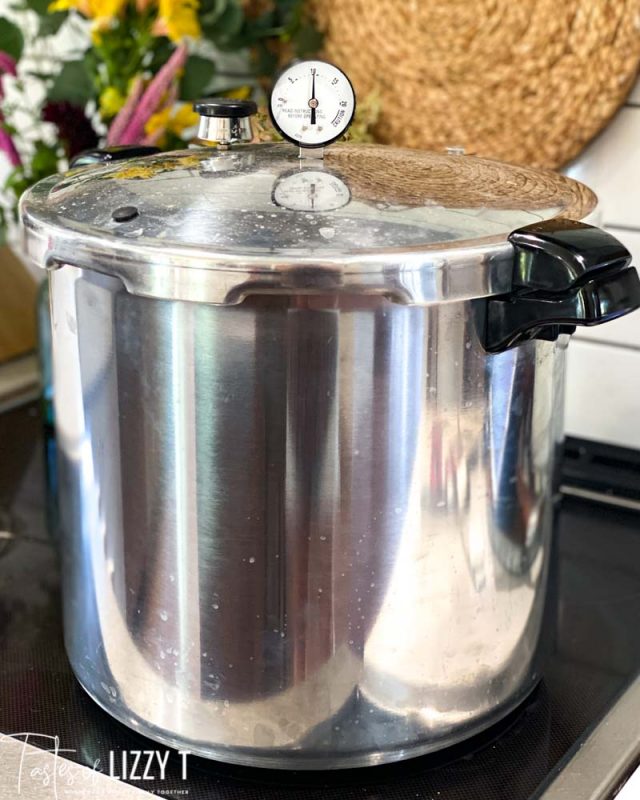
Every water bath canner may be different, so you should always follow the instructions that your specific pressure cooker has. We have a Presto Pressure Canner that we’ve used for the past 4 years and it’s been great.
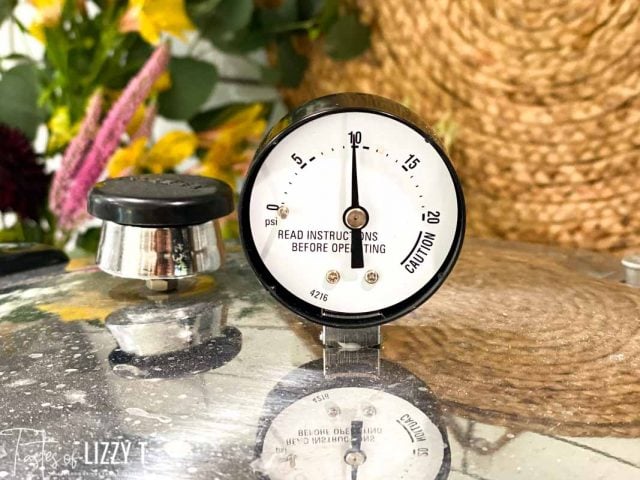
- With this canner, fill the canner to the line indicated (it’s about 2-3 inches of water). Then put it over a large burner on medium heat. Add the quart jars (ours fits 7). Once the water starts steaming, place the lid on and tighten. Then once you start seeing steam come out of the vent pipe, place the pressure regulator on. Then watch closely for the pot to come to pressure.
- Start timing when the gauge shows it is at 10 pounds pressure. Process the apple pie filling quarts for 10 minutes at 10 pounds of pressure.
- When the time is up, turn off the stove and allow the pressure to come to zero. then you can remove the regulator and the lid. Do not try to mess with the canner while it is under pressure! Just let it sit and it will depressurize. Take the jars from the canner and place them on a towel to cool.
Hot Water Bath Instructions
If you don’t have a pressure cooker, you can use a large stock pot with a rack on the bottom to make a water bath to seal the jars.
- Make sure the rack the jars will sit on is in place in the pot.
- Fill the stock pot with water. The level needs to be high enough that it fully covers the jars (about 1-2″ of water above the jars) once they are in there.
- Place the filled, sealed jars (same method as used in the recipe below) into the pot.
- Cover the pot and bring the water to a rolling boil. Once it is at a rolling boil, start the timer.
- You’ll process quart jars for 20 minutes and pints for 15 minutes. Leave the lid on during processing.
- Once the time has finished, turn off the stove and remove the lid. Allow the jars to rest for 5 minutes.
- Then remove jars with a jar lifter from the water bath and place them on a towel to cool. Let the jars rest for at least 12 hours without touching them.
How do you know jars are sealed?
There should be no flex to the top of the lid when you touch the center (and you’ll often hear them “popping”. It should feel tight and secure. If a lid does not seal, refrigerate the pie filling and use within a few days. Or you can freeze it.
Recipes Using Apple Pie Filling
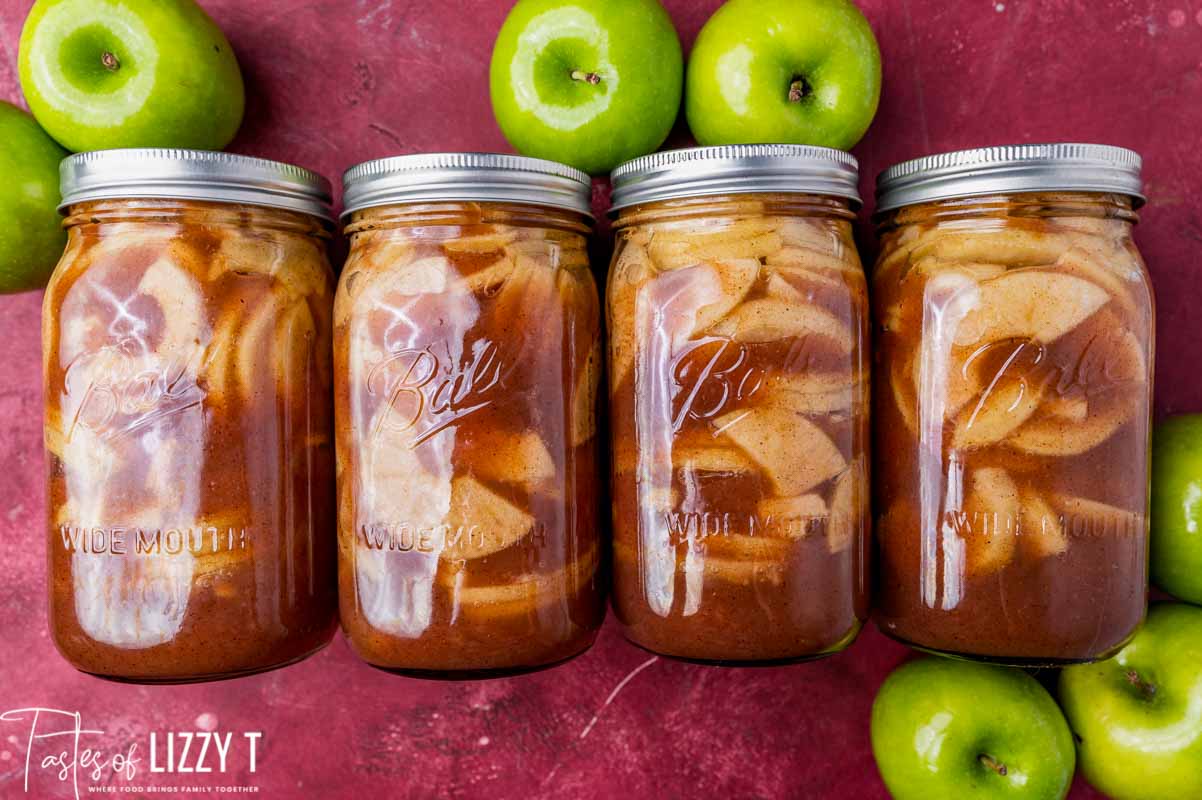
I’m not gonna lie. I like to eat apple pie filling out of the can. Or on pancakes or waffles. Or over ice cream. Or in apple cobbler. But there are so many recipes that use apple pie filling. Here are just a few of our favorites.
- Apple Pie Dump Cake. Put about 4-6 cups of apple pie filling in a 9×13 baking pan. Sprinkle dry cake mix on top, then drizzle with 1 cup of melted butter. Top with pecans if you’d like. Bake for about 40 minutes at 325º Fahrenheit. So easy and delicious!
- Cinnamon Rolls with Apple Pie Filling. Make our homemade cinnamon rolls, but use apple pie filling as the filling for the rolls. Bake as the recipe suggests. So good!
- Apple Crisp. Such an easy dessert. Especially with homemade apple pie filling.
- Caramel apple pie. Add dollops of caramel dip or caramel bits to an apple pie. Try this with our cinnamon roll apple pie recipe.
You may also love our apple butter pie, apple crumble baked apples and apple butter cinnamon rolls.

Canning Apple Pie Filling
Learn about canning apple pie filling in a pressure canner or water bath. An easy homemade apple pie filling with amazing cinnamon flavor.
Servings 7 pies
Prep Time 30 minutes
Cook Time 10 minutes
Canning time 30 minutes
Equipment
- Lids & Rings
Ingredients
- 8 pounds Granny Smith apples
- 8 cups apple juice (or water)
- 4 ½ cups granulated sugar
- 1 ½ cups clear-jel
- 2 tablespoons cinnamon
- 2 tablespoons lemon juice
- 1 teaspoon salt
- ¼ teaspoon nutmeg
- 7 quart jars washed and sterilized
- 7 canning jar lids & rings the rings should also be sterilized
Instructions
- Prepare the apples by peeling, coring and slicing them (or dicing, depending on what you prefer). By using a peeler/slicer/corer tool, this took only about 10 minutes to do 8 pounds of apples. 8 pounds Granny Smith apples
- In a large pot, add the juice, sugar, Clear-jel, cinnamon, lemon juice, salt and nutmeg. Whisk well. Allow the mixture to cook over low heat to start, whisking often. 8 cups apple juice, 4 ½ cups granulated sugar, 1 ½ cups clear-jel, 2 tablespoons cinnamon, 2 tablespoons lemon juice, 1 teaspoon salt, ¼ teaspoon nutmeg
- Once the mixture starts heating and the sugar starts melting, you can raise the temperature slightly to medium low. Continue to whisk constantly so the syrup does not burn. As the mixture cooks, the syrup will thicken. Once it is thick, remove it from the heat. This took about 5-10 minutes from start to finish, but depends on the type of pot you have and the heat of your stove.
- Stir in the apples. *See our other method for filling the jar down below*
- Use a large funnel to fill the sterilized jars with apple pie filling. You’ll have enough filling to do between 6-7 quarts of apples, so I always make sure I have 7 jars ready. Pack the apples as tightly as you can, leaving about 1” of headspace at the top.
- You can push a plastic knife down into the jar to release any air bubbles that may have formed.
- Another method: Pack the jars first with apple slices (or chunks). Then, using a funnel, slowly drizzle the syrup over each jar of apples, allowing it to soak in around the apples. Don’t pour too quickly or the syrup will spill all over. If your apples are packed tightly, it can take a few minutes for the syrup to soak down. You can use a plastic knife to gently push into the jar to give space for the syrup to sink down. The syrup should fill the jar around the apples and come to the top of the jar, leaving about ½ inch space at the top.
- After the jars are full, wipe the top ring of each jar clean. If there is sugar or syrup on it, it will not seal properly. Make sure the top of the jar is clean and dry.
- Set a small saucepan filled with water to medium heat on the stove. Add the canning lids. Allow the water to come to a boil, then remove from the heat and drain off the water.
- Place a hot lid over the top of each jar, and use a ring to tighten it down.
- Prepare your pressure canner according to the instructions provided with the type of canner you have. (We have a Presto Pressure Canner and Cooker).
- With this canner, fill the canner to the line indicated (it's about 2-3 inches of water). Then put it over a large burner on medium heat. Add the quart jars (ours fits 7). Once the water starts steaming, place the lid on and tighten. Then once you start seeing steam come out of the vent pipe, place the pressure regulator on. Then watch closely for the pot to come to pressure.
- Start timing when the gauge shows it is at 10 pounds pressure. Process the apple pie filling quarts for 10 minutes at 10 pounds of pressure.
- When the time is up, turn off the stove and allow the pressure to come to zero. then you can remove the regulator and the lid. Do not try to mess with the canner while it is under pressure! Just let it sit and it will depressurize. Take the jars from the canner and place them on a towel to cool.
- Let the jars sit without touching them for 12-24 hours. You'll know the jars are sealed when the lids don't have any give to them. You'll also hear them "popping" which is good!
- Store the jars in a cool, dark place for up to 18 months.
Notes
Read all about the parts of a pressure canner.
Please note! That calories shown are per quart jar, based on the recipe making 7 jars. There are 4 cups per quart, so you can measure the calories based on how much you take and dividing by the correct amount. Since different brands of ingredients have different nutritional information, the calories shown are just an estimate. **We are not dietitians and recommend you seek a nutritionist for exact nutritional information. The information in the nutrition box are calculated through a program and there is room for error. If you need an accurate count, I recommend running the ingredients through your favorite nutrition calculator.**
If you normally process jars with a hot water bath, you can do that for this recipe as well.
Nutrition
Calories: 1009kcal | Carbohydrates: 259g | Protein: 2g | Fat: 1g | Saturated Fat: 1g | Polyunsaturated Fat: 1g | Monounsaturated Fat: 1g | Sodium: 353mg | Potassium: 859mg | Fiber: 14g | Sugar: 210g | Vitamin A: 290IU | Vitamin C: 28mg | Calcium: 79mg | Iron: 1mg

can I substitute apple cider for apple juice?
When my mom taught me to can, she told me to boil my jars and leave them in boiling water. Fill the jars with hot food, seal with boiled seal and lid then turn upside down until cool. Will this work, with this?
If I want to do this over 2 days, is that possible? Or does it need to be all at once?
Is the clear gel that you call for in the recipe the same as sure gel that’s used in jam and jelly recipes?