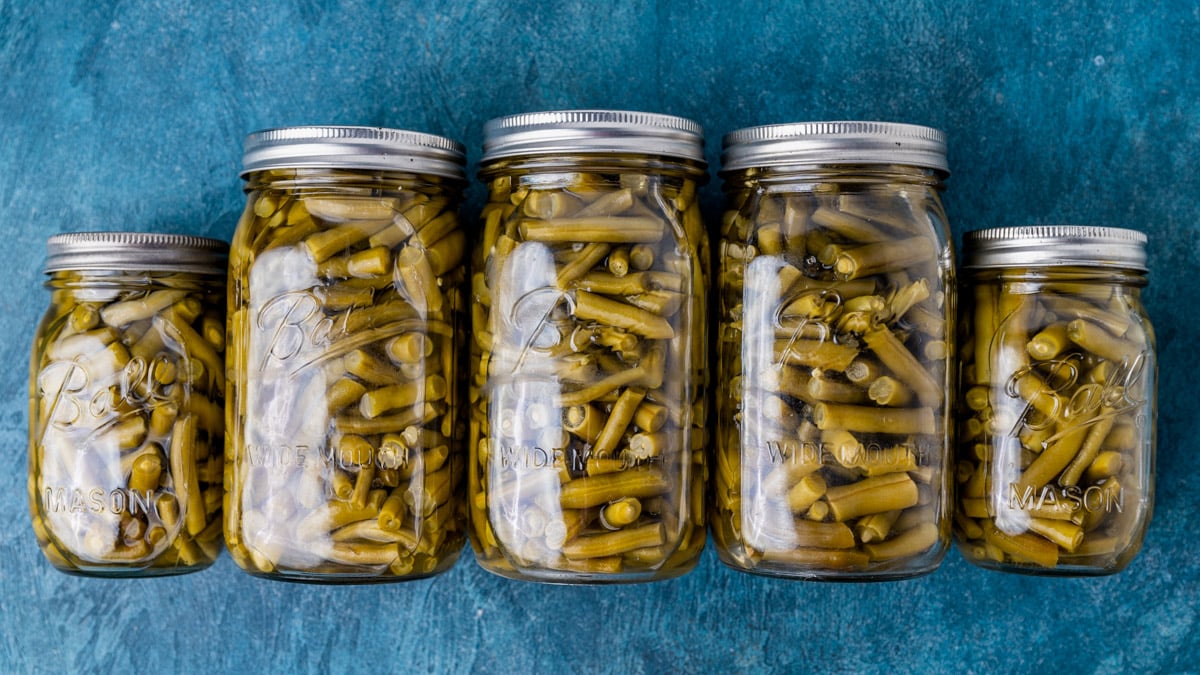
Every year our garden overflows with green beans. This year we had both bush green beans and pole beans. I love to take a couple days out of the month, pull out the canner and can some of our garden beans.
Home-canned vegetables have amazing flavor, are less expensive and have no additives compared to store bought green beans. They make for easy side dishes and are great with many main dish recipes.
Want to can green beans? Here’s how to preserve your homegrown green beans.
What are the benefits of eating green beans?
Green beans, also known as snap beans or string beans, are a type of edible seed pod from a climbing plant, usually from the Fabaceae family.
Green beans are high in vitamin K and calcium and are full of antioxidants. They are known to be heart and gut healthy. They are a great way to add minerals and nutrients to your diet. And when you have fresh garden green beans, that’s even better because they taste so fresh.
Canned Green Beans vs Frozen Green Beans
Both canned green beans and frozen green beans are picked at the peak of freshness so they are loaded with good-for-you vitamins and nutrients.
The canning process may affect some of the water soluble vitamins in green beans, but it will not affect many nutrients and minerals. And since many families prefer canned vegetables and fruits, canning is a great way to up the intake of fruits and veggies.
You do want to watch the sodium, so if you’re purchasing canned vegetables, look for low sodium options.
Supplies Needed
Here is a list of what you’ll need to can green beans:
Mason jars (pint jars or quart jars).
Mason jar lids & rings. Check the mouth of the jars you have. There are regular and wide mouth canning jars. Make sure you have the correct size.
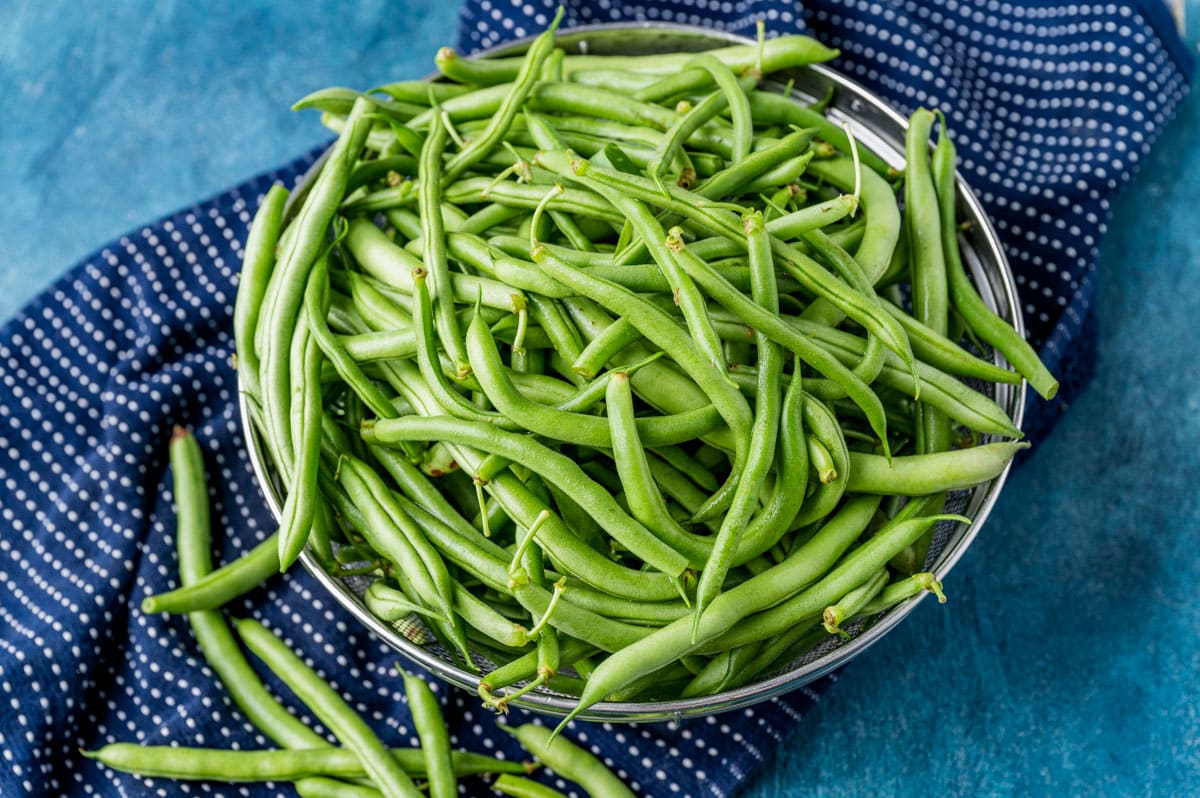
Fresh garden green beans.
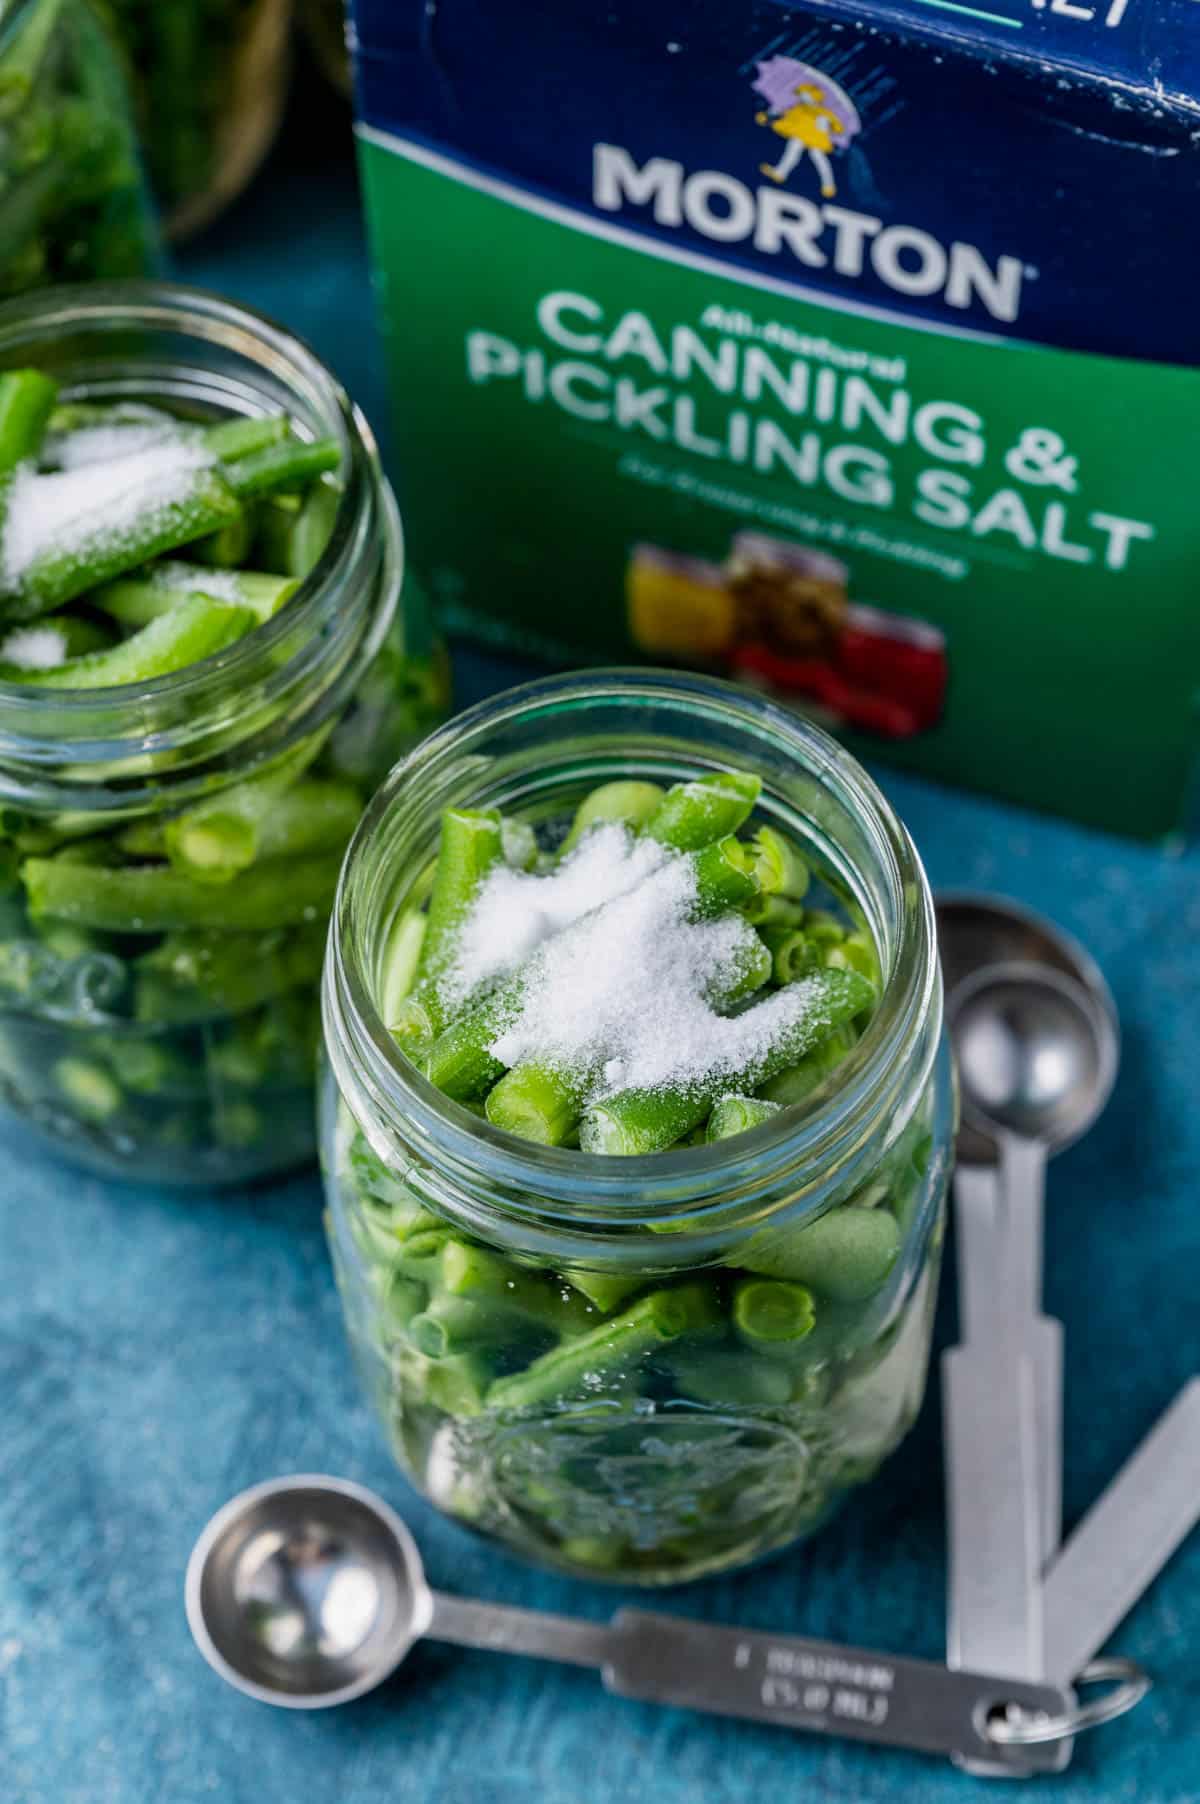
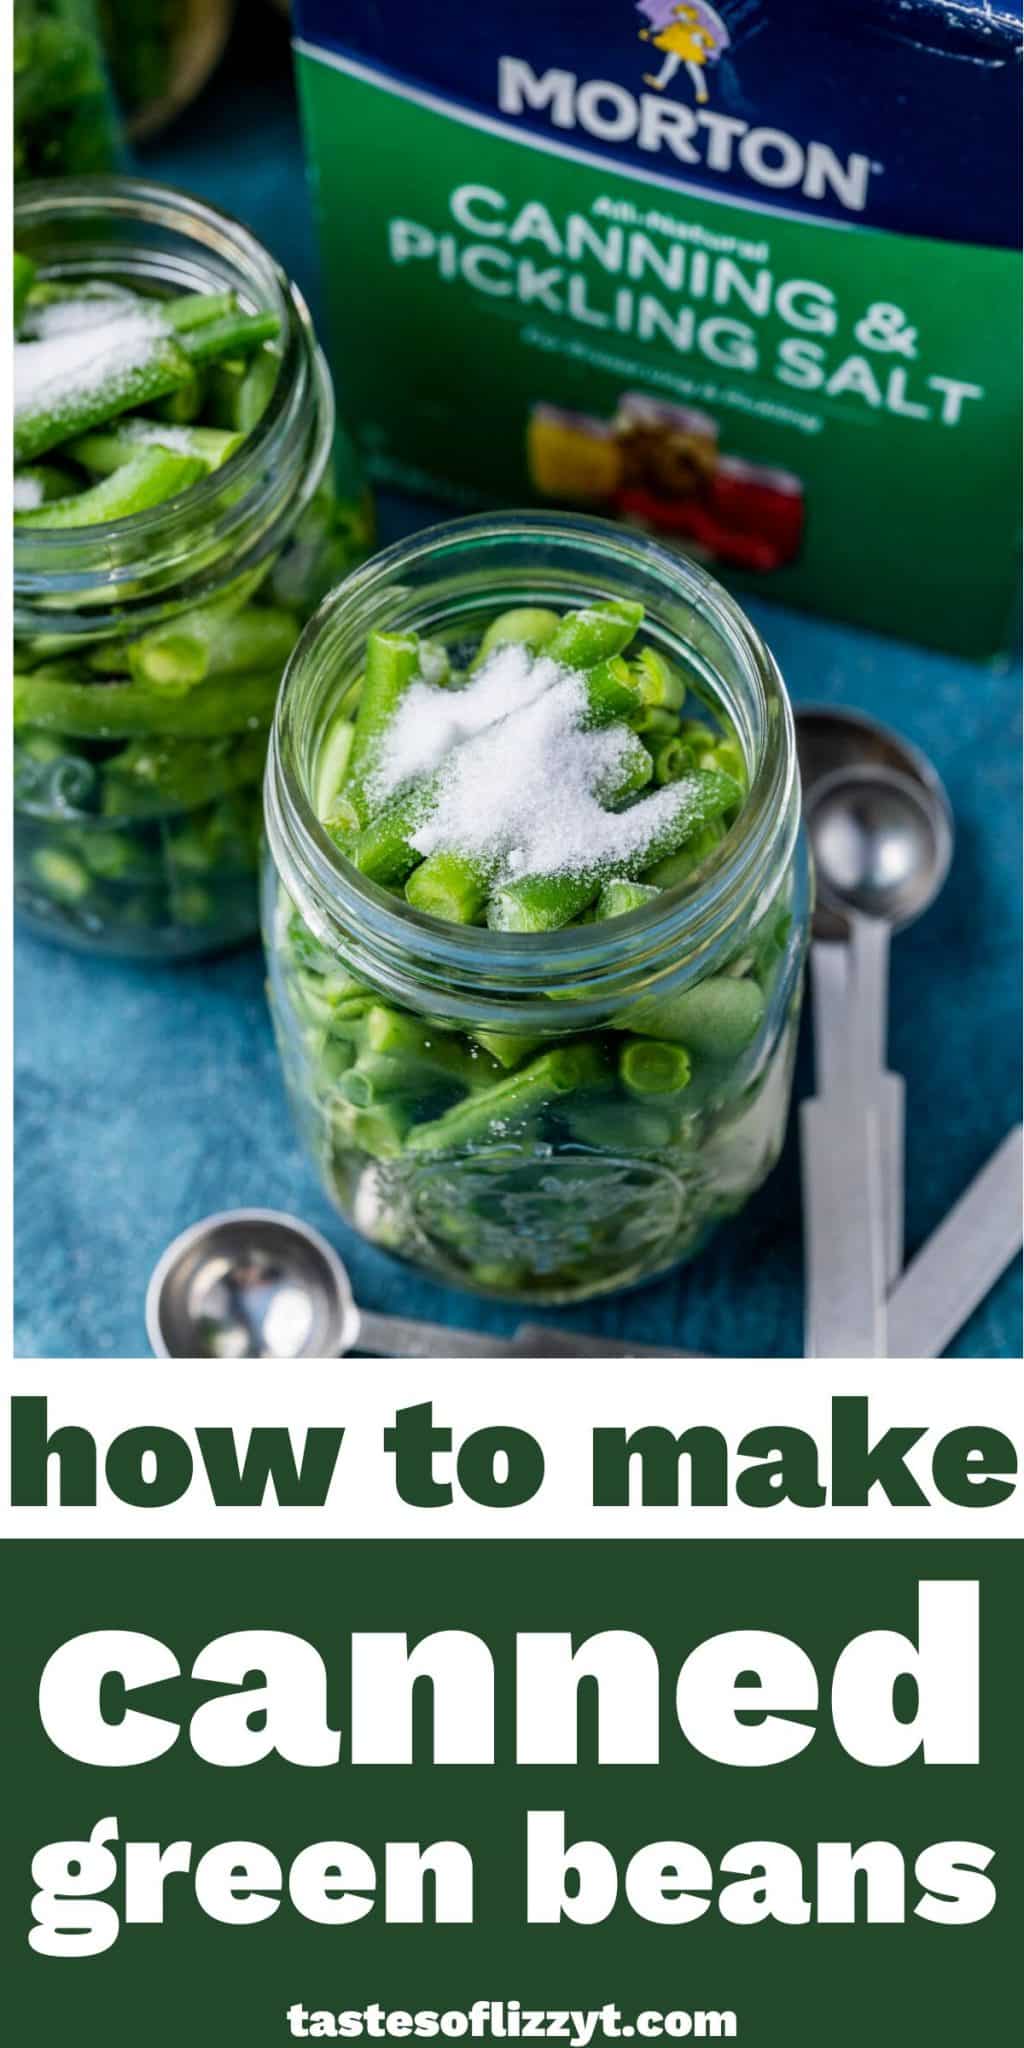
Pickling & Canning salt. I use Morton brand and I buy it either in the baking aisle or in the canning section of the store, depending on which store I’m in.
Pressure canning can be a little scary. Some just use a water bath to can jars, but I prefer using a pressure cooker for home food preservation to make sure the jars get sealed properly. Take the process step by step and you’ll have no problem.
Prepare the jars.
Gather your supplies. This works best if you have everything at hand, ready to go.
Clean the mason jars by running them through the dishwasher or washing with hot soapy water. Rinse and drain on a drying rack.
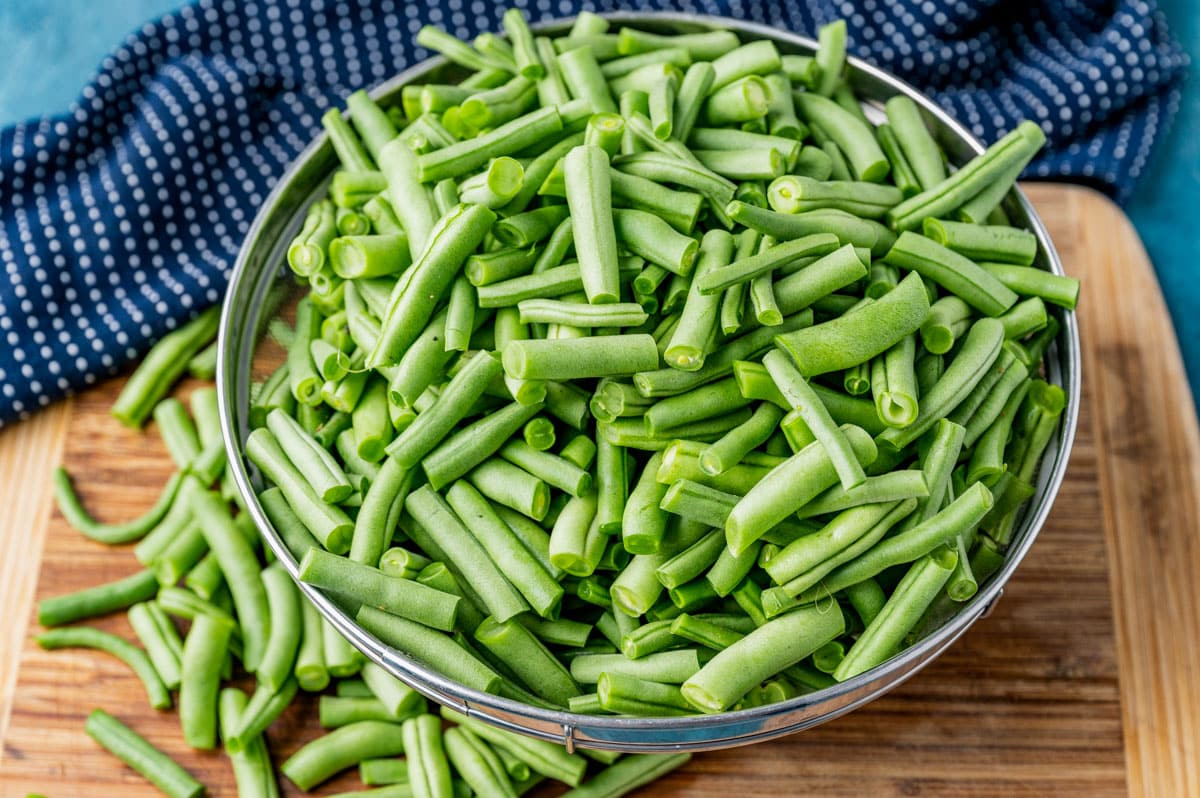
Wash the beans, then snap off the ends and break them into bite-size pieces (about 1-inch pieces). Set them aside.
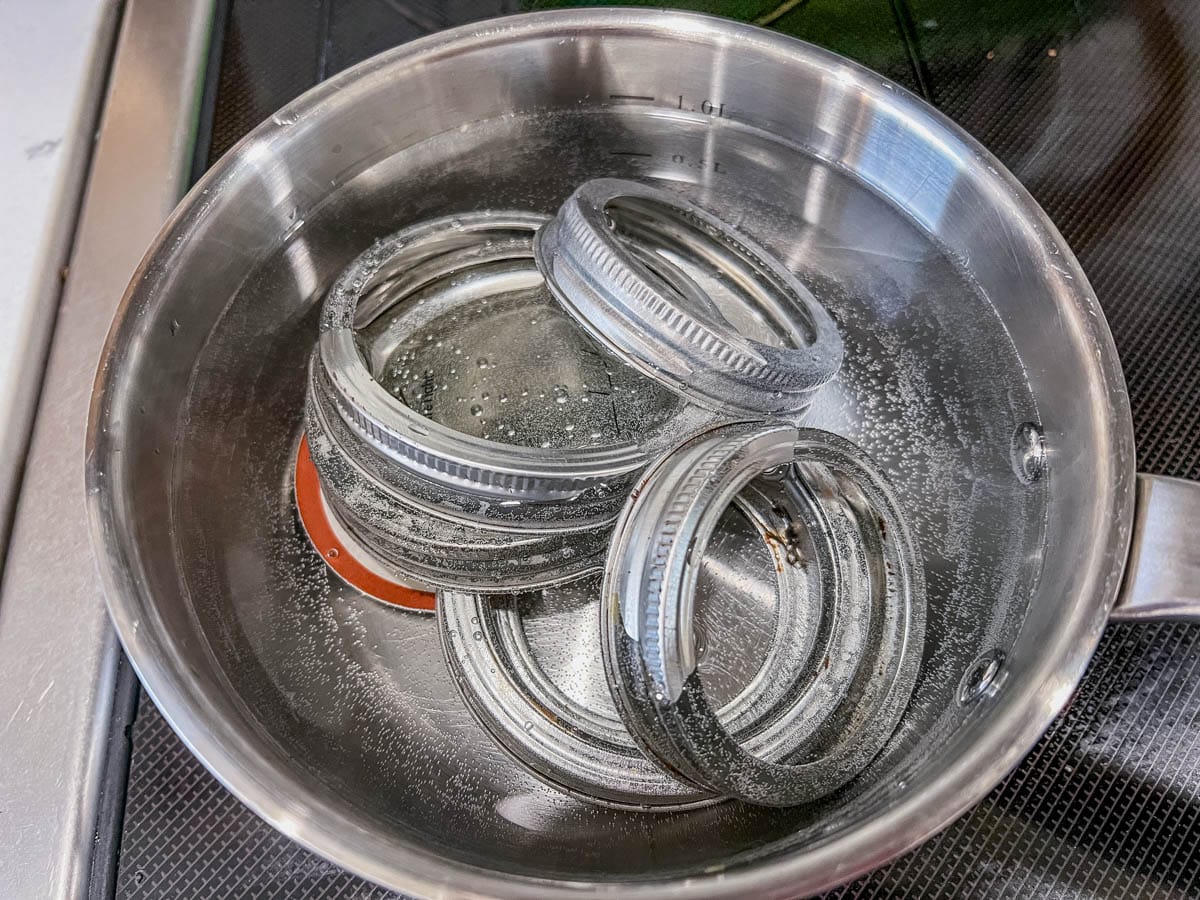
Place the rings and lids in a small saucepan and cover with water. Set the stovetop to low heat and bring the water with the rings/lids to a light simmer or steaming. Allow this to steam/simmer for 10 minutes. Don’t bring it to a full boil.
Set a large pot of water on the stove to boil over medium high heat. This will be to fill the mason jars so you can gauge how much you’ll need based on how many green beans you have.
Raw pack the green beans, which means you simply pack the clean, warm mason jars with raw beans. Leave about 1-inch headspace at the top of the jar. Fill all of the jars, whether pints or quarts, until the green beans are all in jars.
Sprinkle 1 teaspoon of canning salt over the beans in the quart jars. Use ½ teaspoon canning salt over the pint jars.
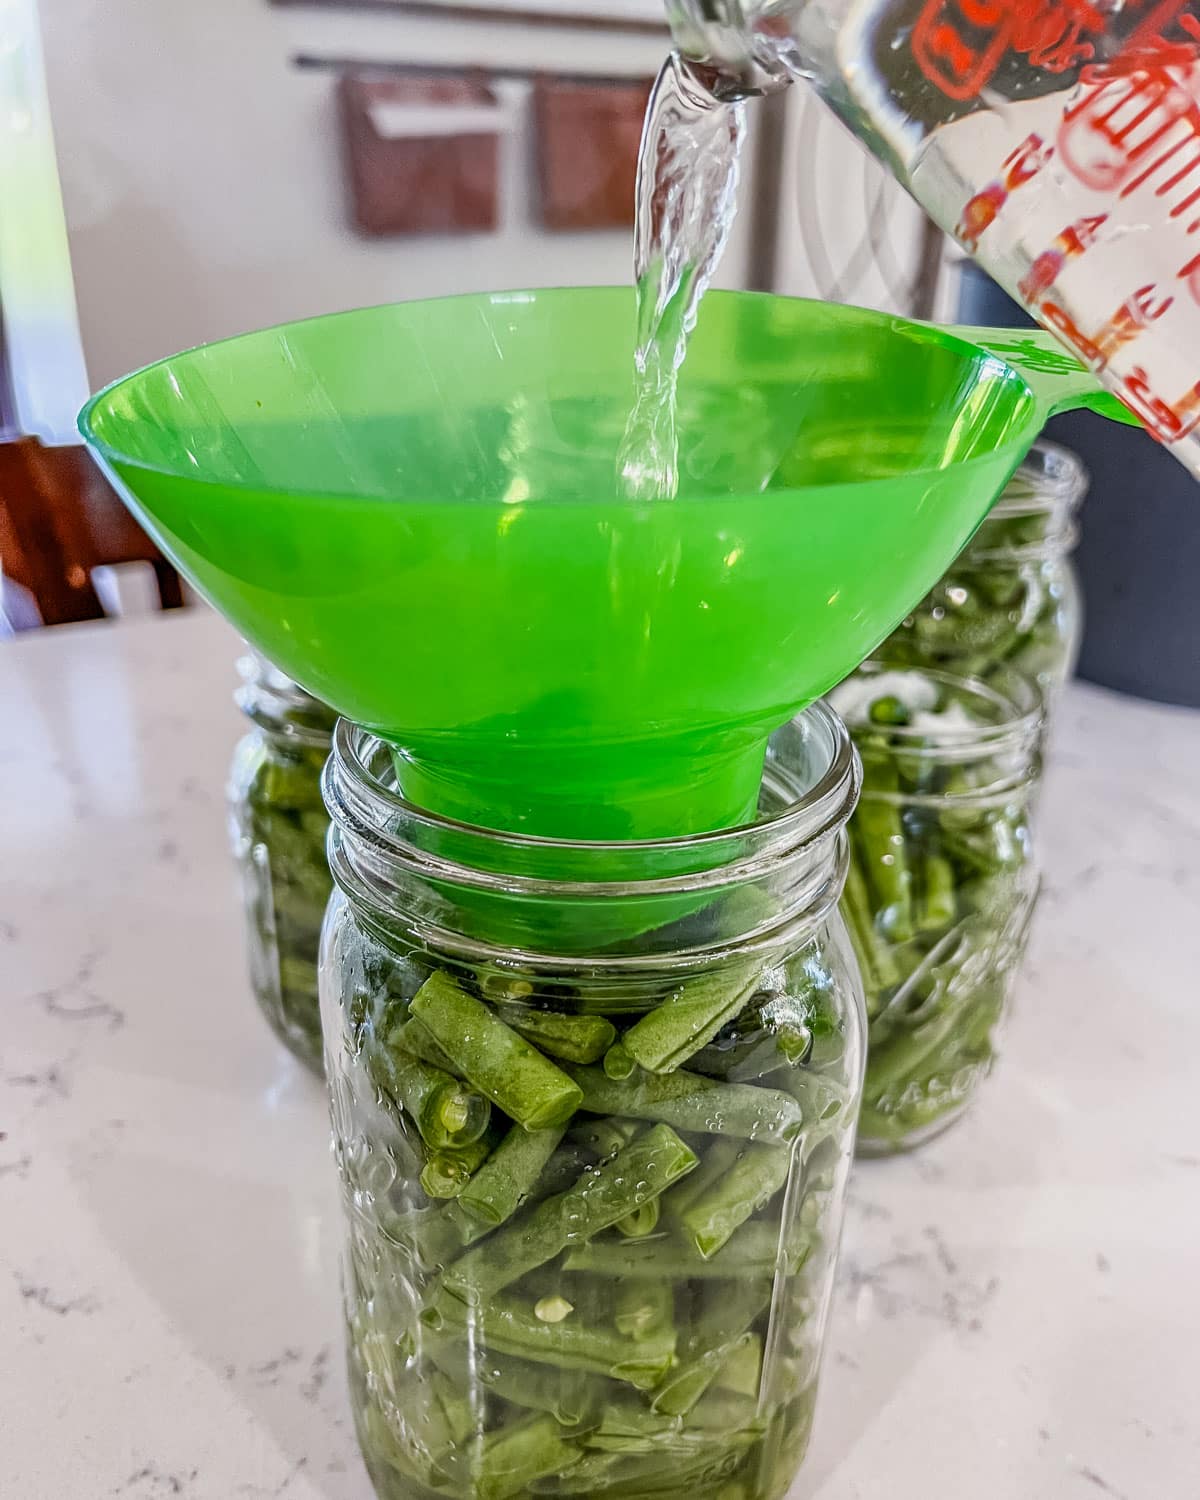
Once the jars are full of green beans, use the funnel to carefully pour the boiling hot water (be very careful!) over the green beans just until the beans are covered. (Remember that there should be 1-inch headspace at the top of the jar.) Use a butter knife to stick down into the jar to remove air bubbles if needed.
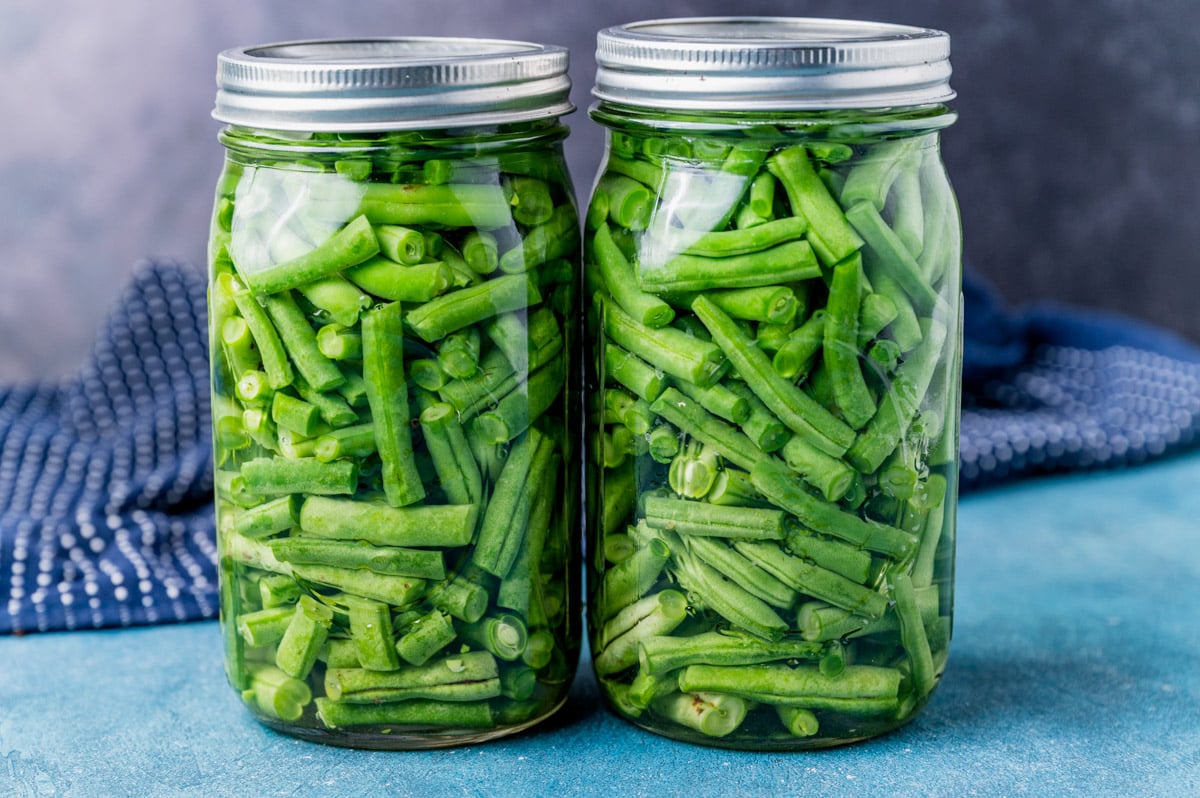
Use a clean towel or paper towel to dry the rim of the jars.
Then take the hot lids/rings and place on of each on top, place the lid on the jar and tighten the ring around it.
Pressure cook the jars.
It’s important to read and follow the instructions for the pressure canner that you have as each one might be slightly different.
Place the canner rack in the canner and fill the canner with water up to the line indicated. There isn’t much water needed. Ours is just a few inches.
Place the canner on the largest burner. Set the stove-top to medium-high heat.
You want to process quart jars and pint jars separately since they take different amounts of time to process.
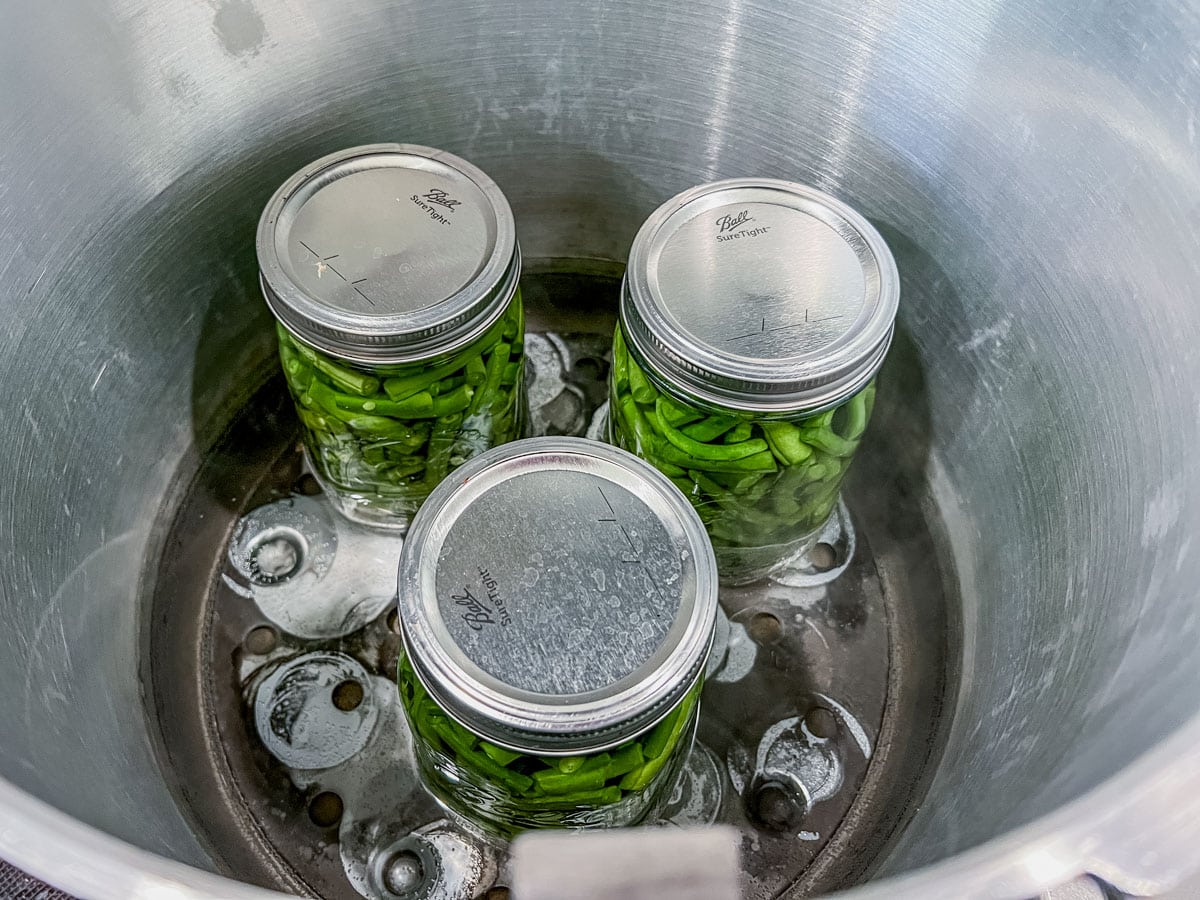
Place the jars (ours takes up to 7 quarts and 10 pints) in the canner.
Place the lid on the pressure cooker and lock it into place. Leave the weighted gauge off for right now.
Let the water boil inside until you see steam starting to come out of the steam spout. Once this happens, place the weighted gauge on the steam spout. At this time, the canner will start to pressurize.
Allow the pressure to rise until the dial gets to 10 pounds of pressure. At that point, set the timer for 25 minutes for quarts and 20 minutes for pints.
While the beans are processing, watch the pressure dial gauge closely. If it starts to rise above 10 pounds, lower the heat. If it starts to drop below 10 pounds, raise the heat. Keep it as close to 10 pounds as possible for the time interval needed.
Once the time is up, turn off the heat, and allow the pressure to come to zero. Don’t touch the canner before that.
Once the gauge is reading zero, take off the weighted gauge and then loosen the lid to open the canner. Do this carefully and keep your face away from it because there may be steam trapped.
Use the jar lifters to lift each jar out of the canner. Be careful…they will be very hot!
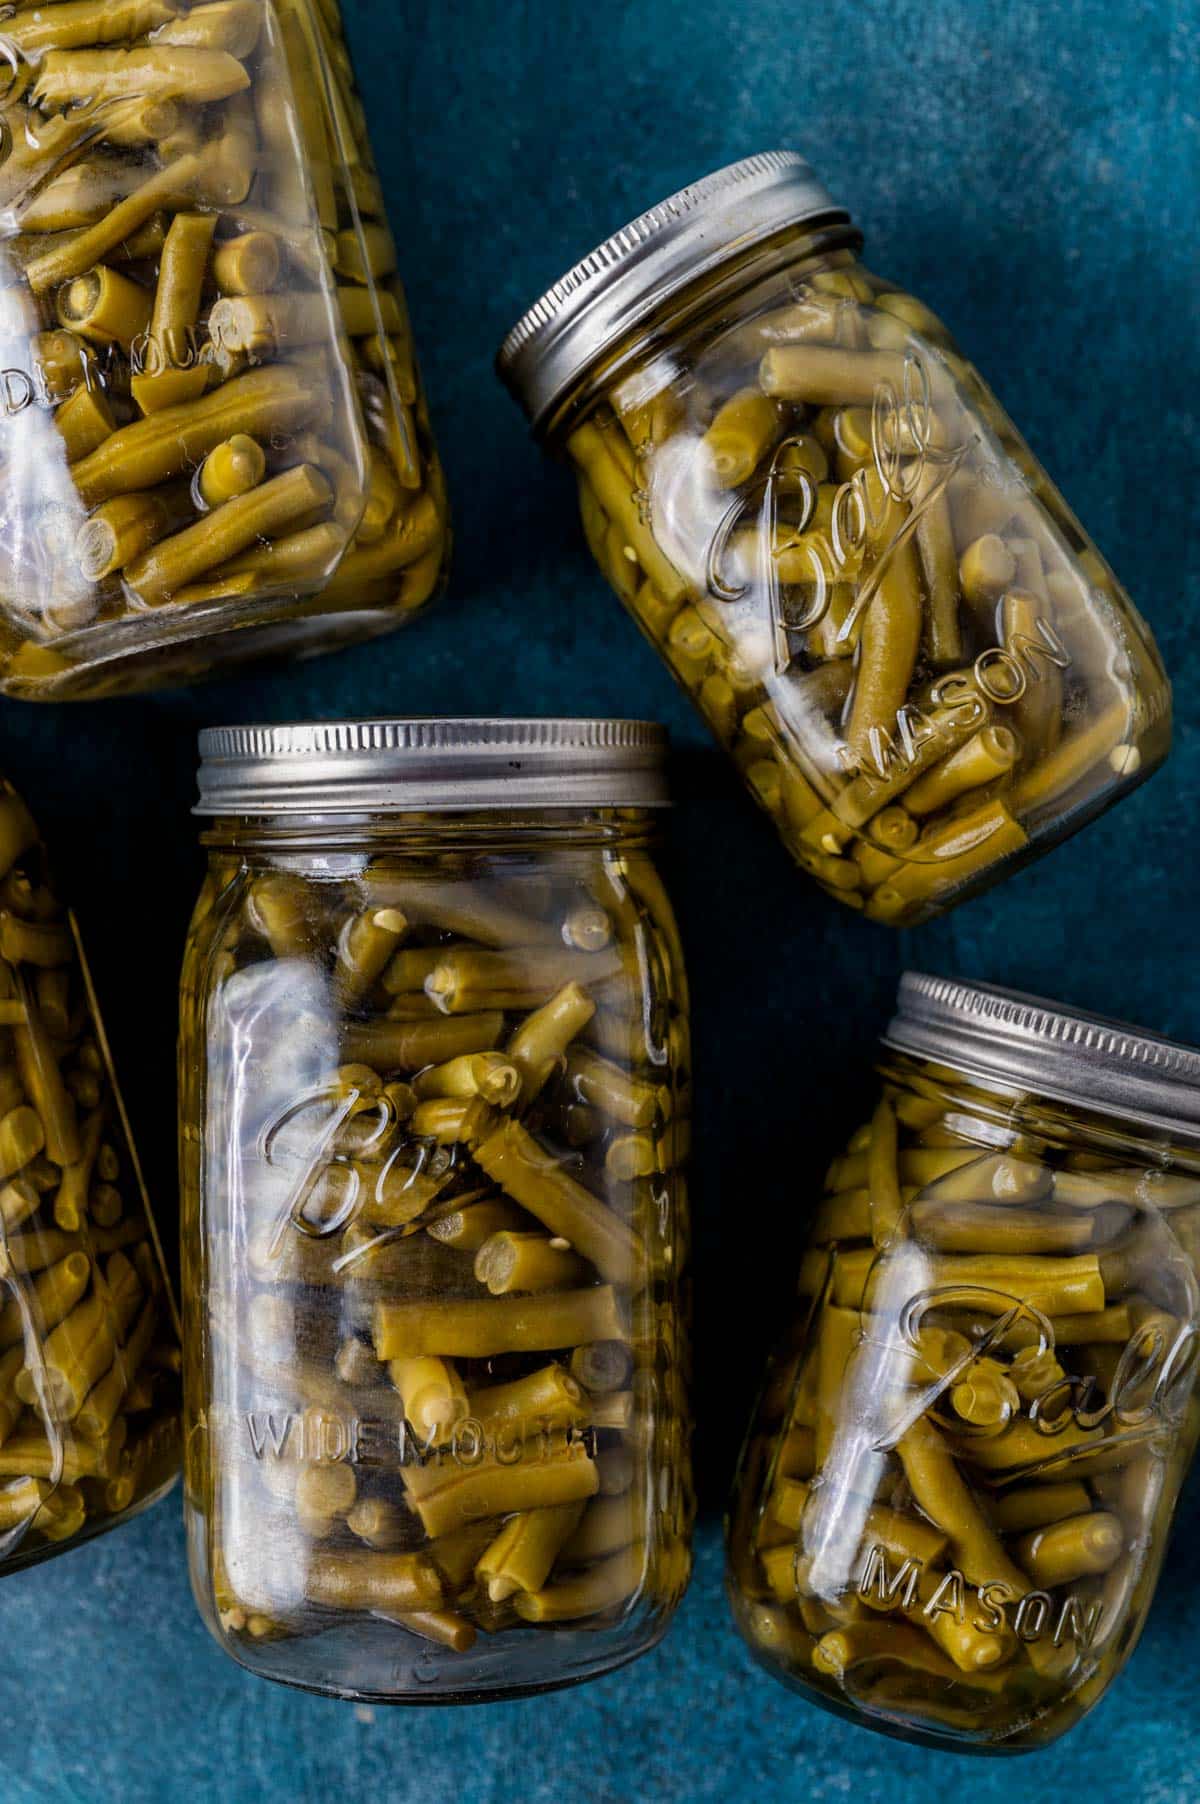
Place them on a wire rack on the counter to cool completely. You may hear the jars “pop” which means they are sealing.
Allow the jars to cool completely, then check to make sure they are sealed.
my green beans aren’t bright green anymore.
You’ll notice that green beans lose some of their bright color after the canning process. That’s ok. They are still fine to eat.
How to Test if Canning Jars Sealed
To check to see if the jar is sealed, touch the top center of the lid. If it pops back, it is not sealed. If it doesn’t move and feels firm, it has sealed. The lid will also look concave when you look at it straight on. (source)
What if my jars didn’t seal?
Properly sealed jars are super important to protect yourself from botulism. If the jars didn’t seal the first time, you can try to process them again using the same instructions.
If they don’t process the second time, I recommend refrigerating the green beans and using them within 2-3 days. Or you can try freezing them to use later.
Do I need to make any adjustments for high altitude?
From what I understand, the process time will be the same, but it may take more time to come to pressure. Please leave any tips on canning at high altitudes below.
Gather your supplies. This works best if you have everything at hand, ready to go.
Clean the mason jars by running them through the dishwasher or washing with hot, soapy water. Rinse and drain on a drying rack.
Wash the beans, then snap off the ends and break them into bite-size pieces (about 1-inch pieces). Set them aside.
Place the rings and lids in a small saucepan and cover with water. Set the stovetop to low heat and bring the water with the rings/lids to a light simmer or steaming. Allow this to steam/simmer for 10 minutes. Don't bring it to a full boil.
Set a large pot of water on the stove to boil over medium high heat. This will be to fill the mason jars so you can gauge how much you'll need based on how many green beans you have.
Cold pack the green beans, which means you simply pack the clean, warm mason jars with green beans. Leave about 1-inch headspace at the top of the jar. Fill all of the jars, whether pints or quarts, until the green beans are all in jars.
Sprinkle 1 teaspoon of canning salt over the beans in the quart jars. Use ½ teaspoon canning salt over the pint jars.
Once the jars are full of green beans, use the funnel to carefully pour the boiling hot water (be very careful!) over the green beans just until the beans are covered. (Remember that there should be 1-inch headspace at the top of the jar.) Use a butter knife to stick down into the jar to remove air bubbles if needed.
Use a clean towel or paper towel to dry the rim of the jars.Then take the hot lids/rings and place on of each on top, place the lid on the jar and tighten the ring around it.
Pressure cook the jars.
It's important to read and follow the instructions for the pressure canner that you have as each one might be slightly different. Place the canner rack in the canner and fill the canner with water up to the line indicated. There isn't much water needed. Ours is just a few inches.
Place the canner on the largest burner. Set the stovetop to medium-high heat. You want to process quart jars and pint jars separately since they take different amounts of time to process.
Place the jars (ours takes up to 7 quarts and 10 pints) in the canner. Place the lid on the pressure cooker and lock it into place. Leave the weighted gauge off for right now.
Let the water boil inside until you see steam starting to come out of the steam spout. Once this happens, place the weighted gauge on the steam spout. At this time, the canner will start to pressurize.
Allow the pressure to rise until the dial gets to 10 pounds of pressure. At that point, set the timer for 25 minutes for quarts and 20 minutes for pints. While the beans are processing, watch the pressure dial gauge closely. If it starts to rise above 10 pounds, lower the heat. If it starts to drop below 10 pounds, raise the heat. Keep it as close to 10 pounds as possible for the time interval needed.
Once the time is up, turn off the heat, and allow the pressure to come to zero. Don't touch the canner before that.
Once the gauge is reading zero, take off the weighted gauge and then loosen the lid to open the canner. Do this carefully and keep your face away from it because there may be steam trapped.
Use the jar lifters to lift each jar out of the canner. Be careful…they will be very hot!
Place them on a wire rack to cool completely. You may hear the jars "pop" which means they are sealing.
Allow the jars to cool completely, then check to make sure they are sealed.
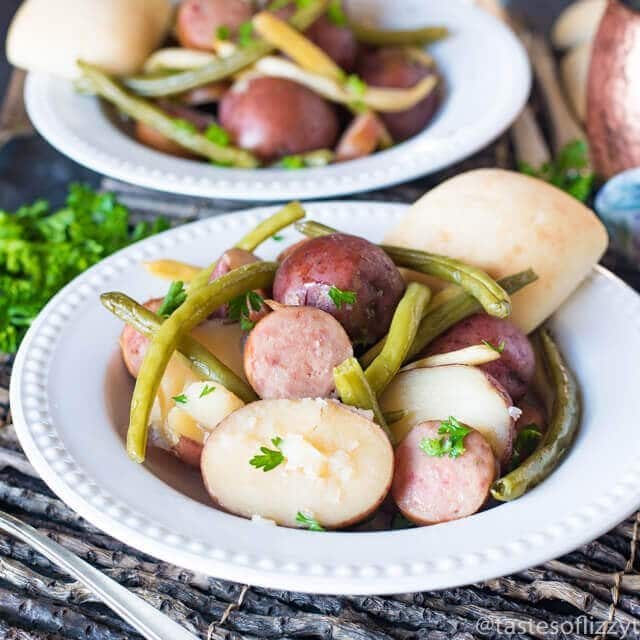
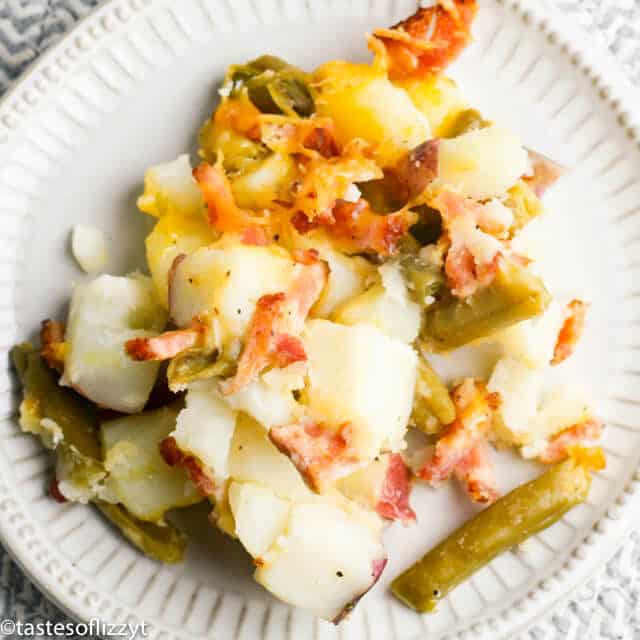
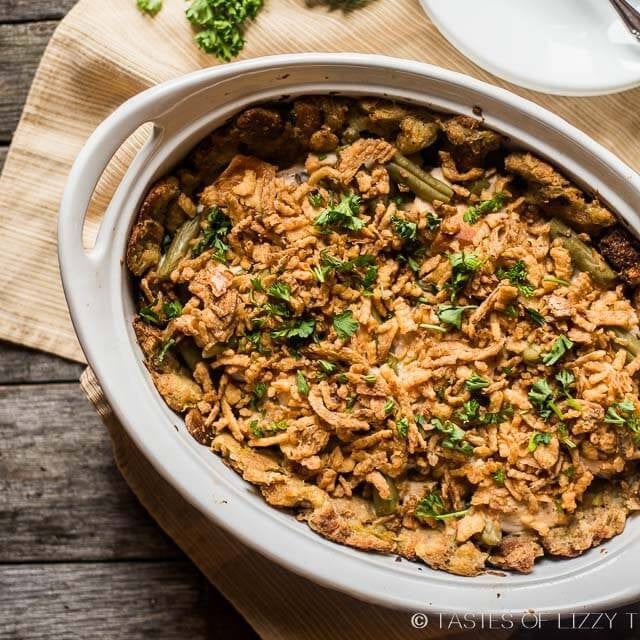
Once you have canned green beans, here are some recipes to use them with:
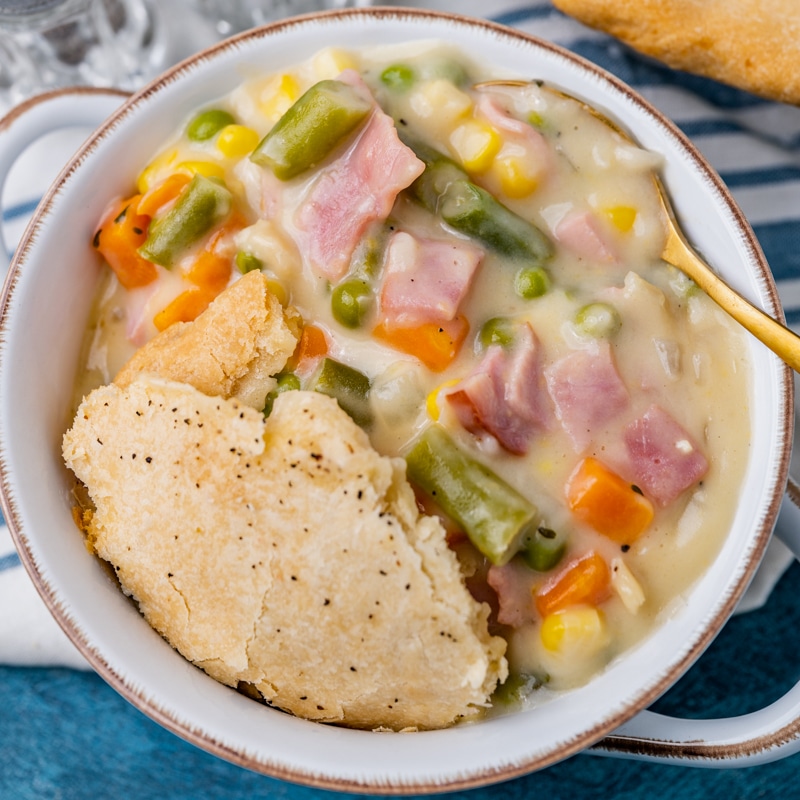
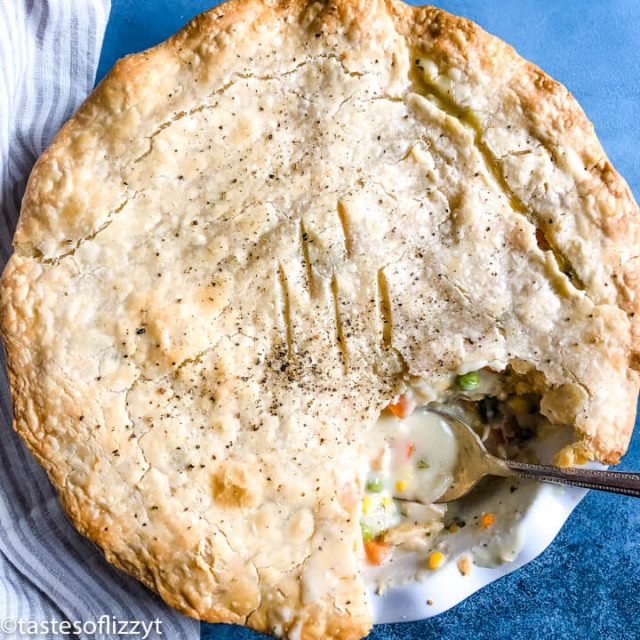
Sausage Potatoes BeansGreen Bean Potato CasseroleGreen Bean CasseroleThanksgiving CasseroleHam Pot PieChicken Pot Pie
About Julie Clark
I'm Julie Clark, CEO and recipe developer of Tastes of Lizzy T. With my B.A. in Education and over 30 years of cooking and baking, I want to teach YOU the best of our family recipes.