Julie Clark
Updated:
At the Family Table!
Updated:
May contain affiliate links. Terms of Use Policy.
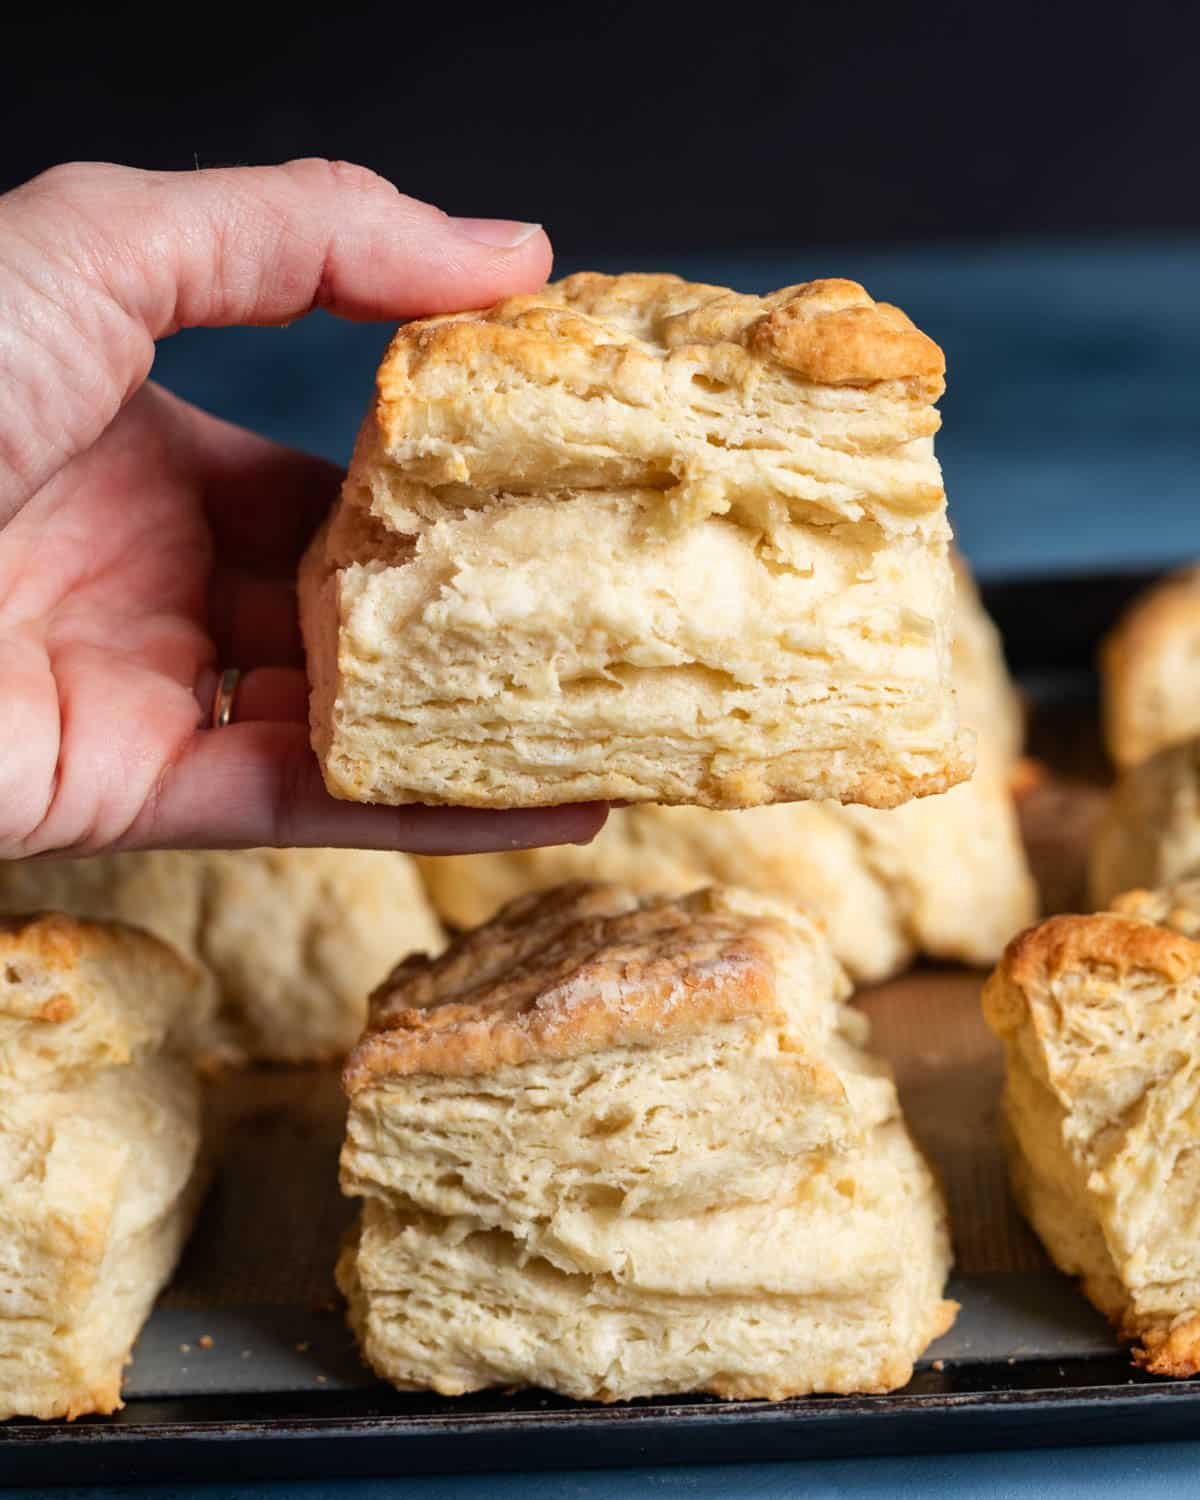
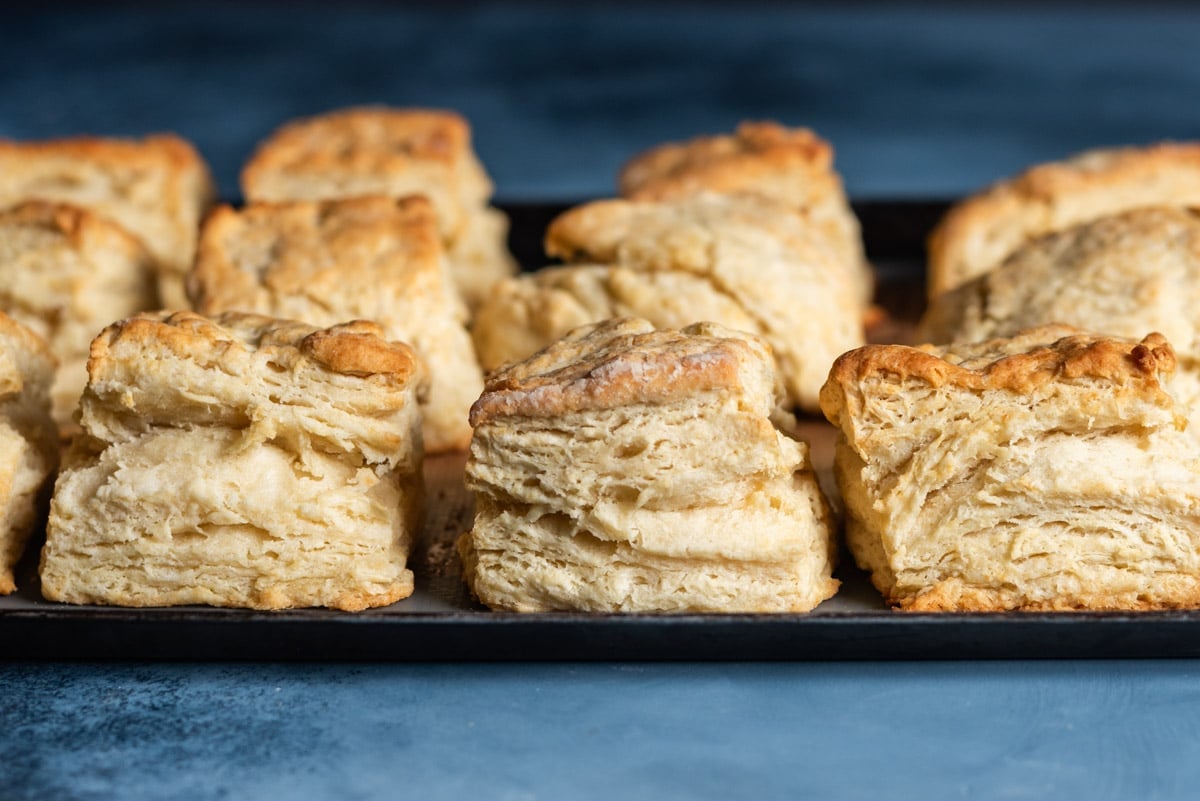
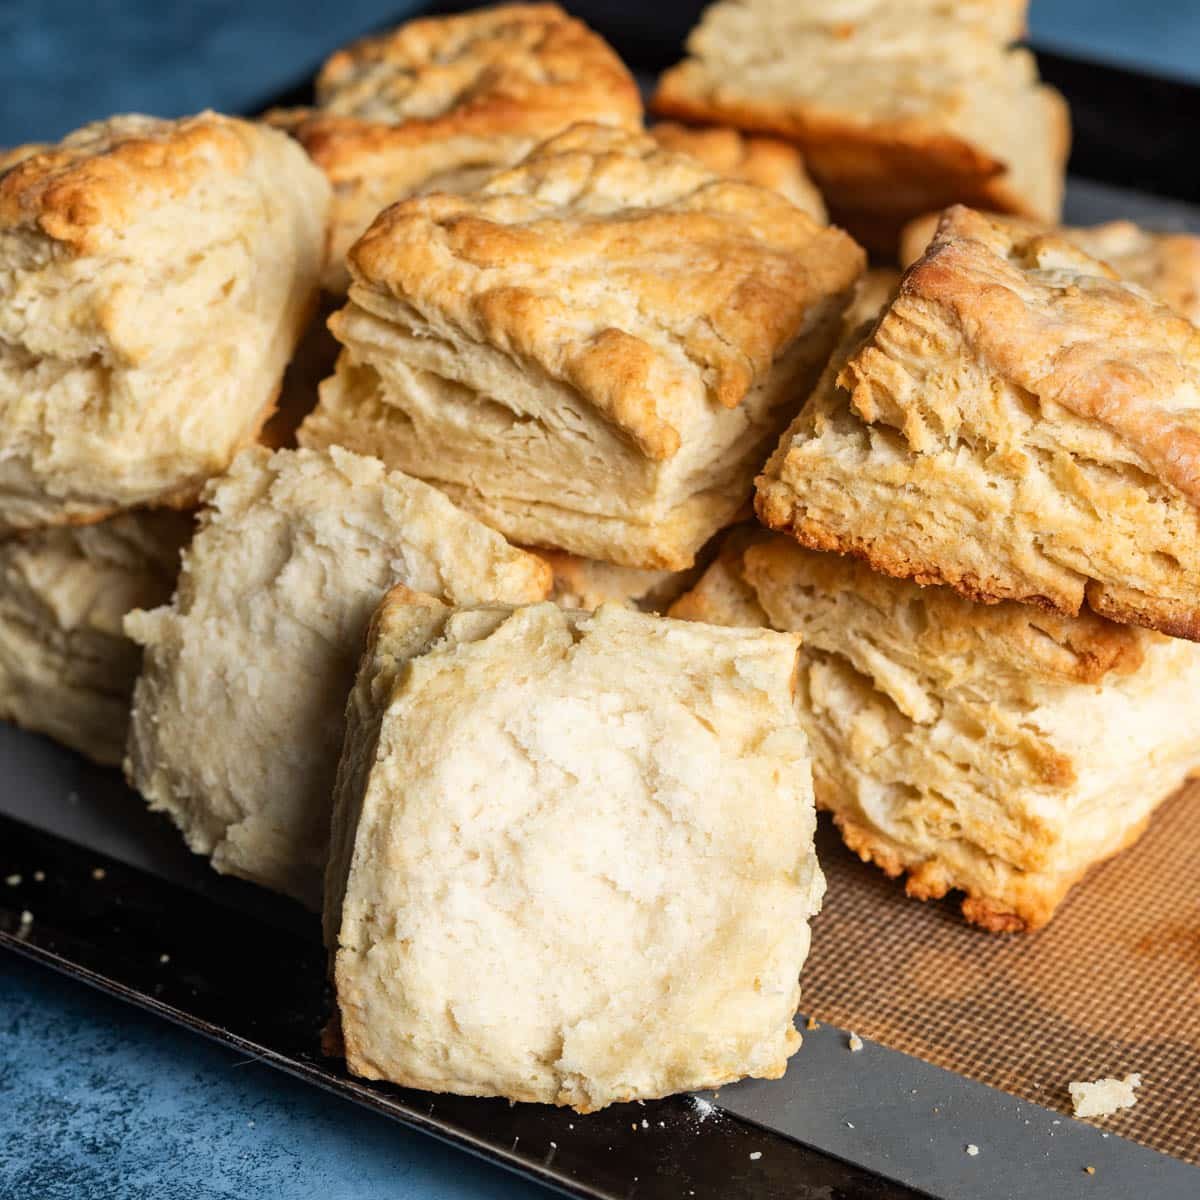
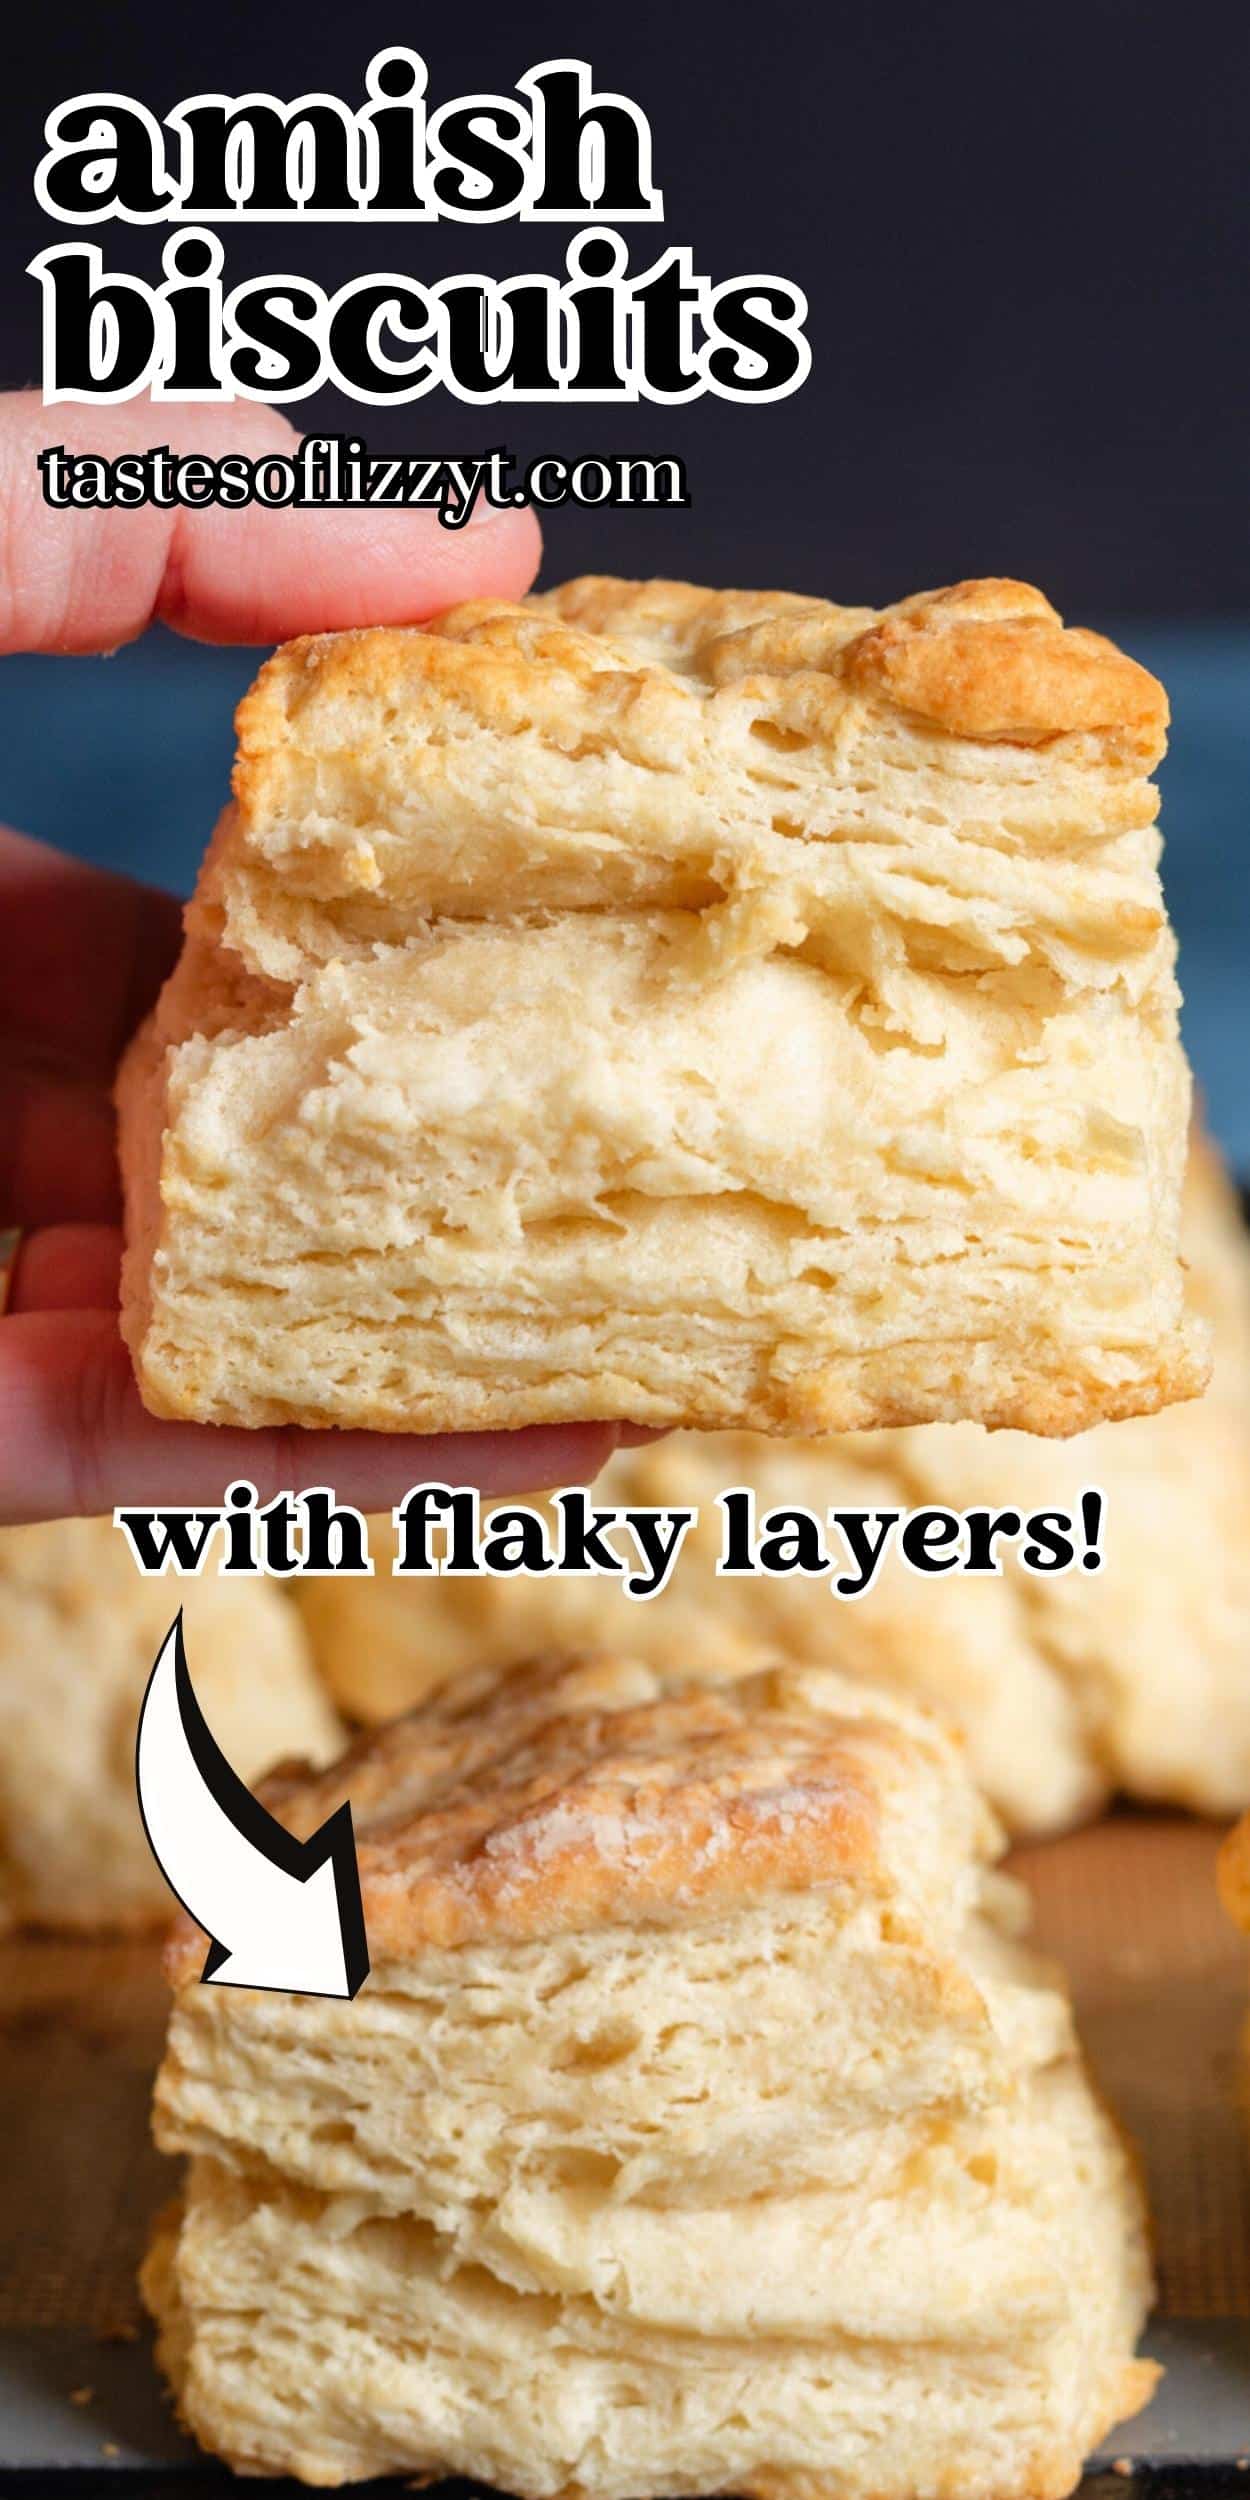
This Amish Biscuit recipe comes together in less than 30 minutes. I have three secrets for fluffy biscuits with flaky layers: buttermilk, lots of cold butter, and the “folding technique”. This recipe really does make the best biscuits with delicious buttery flavor.

I love a good homemade yeast bread. Mom’s country white bread, twisted egg bread or the best dinner rolls are just a few. But when I don’t have time to work with yeast, I turn to my Amish biscuits recipe.
This is another favorite Amish recipe from the Amish Cooking, just like that delicious Amish Shortcake you’ve been loving. I’ve been making these Amish Biscuits for over 25 years, perfecting our technique as we go.
These amish buttermilk biscuits can be eaten for breakfast as a biscuits and sausage gravy. Or for dinner, alongside corn casserole and soup with ham and potatoes , chicken a la king or beef stew. If you are lucky enough to have leftovers, heat one up in the morning and spread on butter and Christmas jam or cinnamon butter.
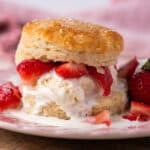
I tweaked this recipe to make strawberry shortcake biscuits and they are a must-try, too!
And if you love biscuits, try our biscuit breakfast bake!
Enjoy! – Julie
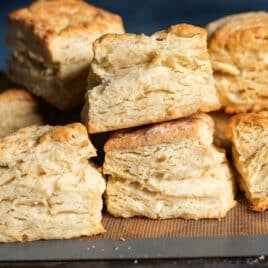
Using both cake flour and all-purpose flour gives these Amish biscuits the best texture—soft and tender from the cake flour, with enough structure from the all-purpose flour to hold their shape. If you use only one type, the texture may be either too crumbly or too dense. The mix gives a perfect balance for tall, fluffy tender biscuits.
It will work with just all-purpose flour, though.
Because you are using baking powder and baking soda, biscuits are best if they are baked right after you mix them.
If you want to save time, mix up the dry ingredients and set aside until you’re ready to mix the Amish biscuits the rest of the way.
There are several reasons why Amish biscuits could end up dry.
Love biscuits? Try our sourdough discard biscuits, cheddar biscuits and spinach cheese stuffed biscuits. And use some peanut butter spread on leftover biscuits!


Very exited to make these tonight! However, I wanted to tell you that is not how you make buttermilk. If u out vinegar (or anything acidic) in milk, that turns the milk into curds and whey. Which is the beginning process of cheese making. Buttermilk comes from the cream of milk (or heavy cream as we see in the grocery stores) when you churn or shake the cream for awhile, it separates into butter and buttermilk. Voila! Hope that helps! Thanks for the delicious recipe!
can I just use butter or does it HAVE to be shorting?
LOVE these! Super easy to make. I used (milk-vinegar combo – no buttermilk in fridge). I got 7 large scones. Crusty outside and fluffy on the inside.
I grated 4 tablespoons of ice cold butter into the dry mix, mashed in with a fork.
I also pulled off chunks of mixture and put it into a floured cupcake pan. Helped them rise lovely!
Covered in strawberry Jam and my lunch is sorted 🙂
I love the Amish Cooking cookbook – it’s so simple! Thanks for sharing!
I was intimidated by homemade biscuits for the longest time …. once I actually made them from scratch, I could never go back to mixes or tubes! They are super easy and soooo much better! Yours looks so flaky and tender! Stumbled and scheduled to pin!
I love a good biscuit and this one looks perfect!! I bet it melts in your mouth!
These biscuits look absolutely perfect! I’ve only made my own once or twice….you ladies inspire me with all your bread making!
Oh my – just hand me a knife and some butter, please! 🙂 These look fabulous! Thanks for sharing and pinning!
Those are awesome biscuits! Made them today.
I have tried this reciepe about 3 times and the biscuits do not rise to what your picture shows. I am truly looking for a good biscuit reciepr so I make my own sausage cheese egg sandwisch
Found your site through Mr. Food. I have never attempted any kind of bread, but these look so good, I want to try them. I have a couple of questions ~ shortening? use liquid veg oil or solid? Second one ~ should I use my stand mixer to make these. Thanks
I like the looks them. I plan on making them as soon as I can.
Made these tonight, amazing!
We love scones, but have never officially made them! We like buying them at the store. I’ll have to try making them at home!Thanks so much for stopping by…we’ll come check you out, too!
These look wonderful! Pinned it. Thanks for linking up with Pin It Tuesday.